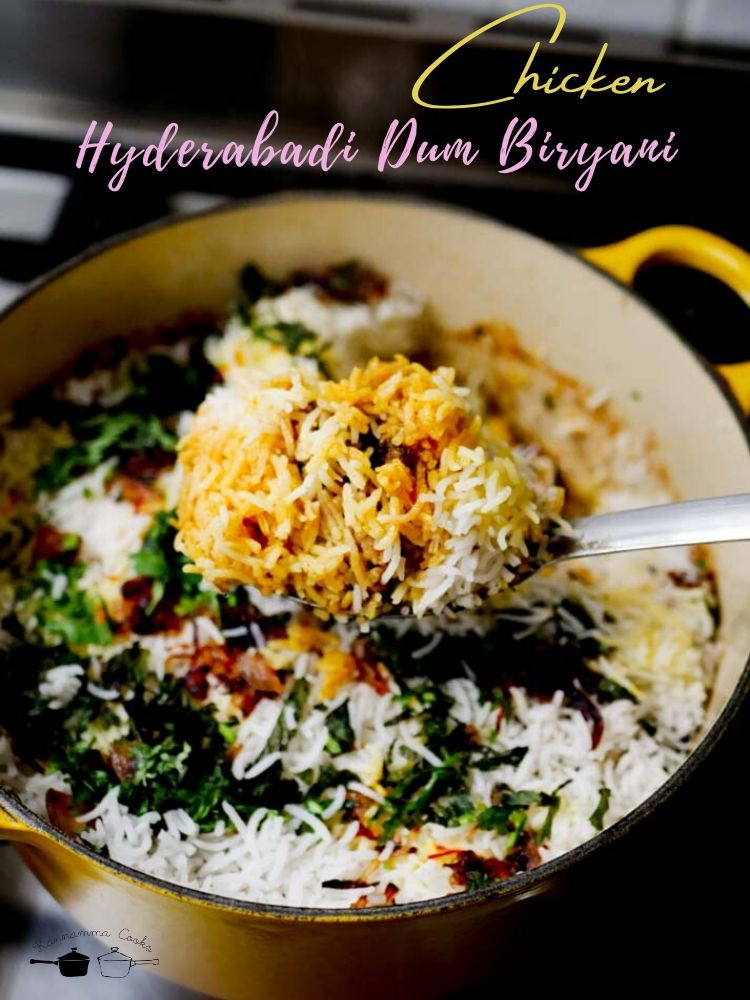
Hyderabadi Chicken Dum Biryani Recipe made from scratch. Home style Hyderabadi Chicken Dum Biryani Recipe with step by step pictures / images and video made with homemade biryani masala.
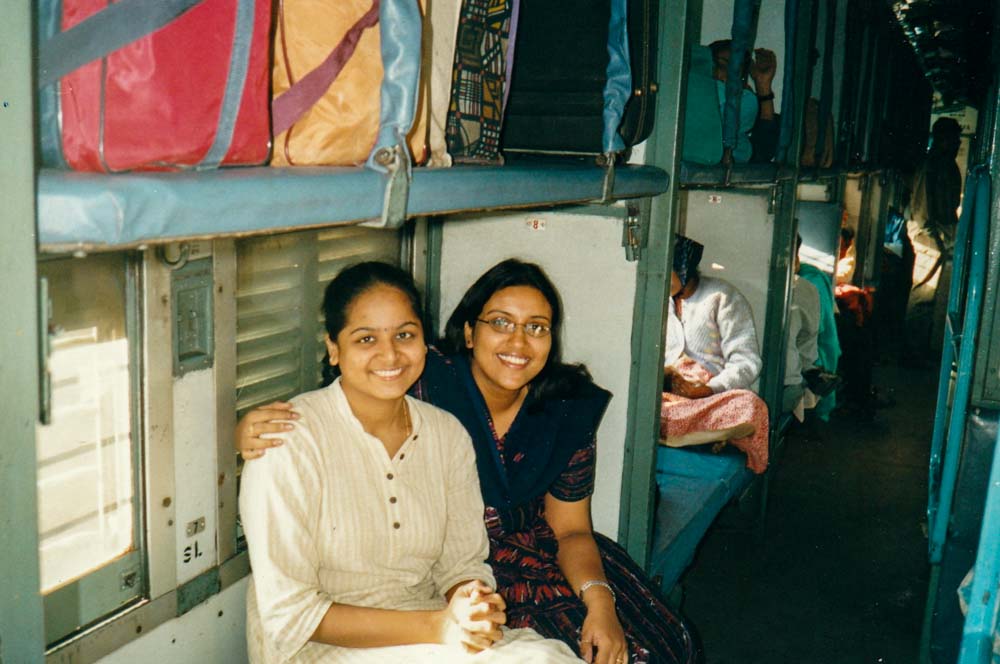
This recipe is from one of my best friends Ramya @ramy. We have known each other for twenty years now. We met in college and the things we did those days are some of the best days of our lives just like anybody else. We had so much fun in my lovely Coimbatore. Here is a story that everyone who knows us makes fun of. A group of us had gone to Mount Abu in Rajasthan for a two week seminar (We did not attend a single session and that’s a story for another day). After the two week seminar (read as vacation), we arrived at the railway station to head back home. We had our return train from Mount Abu to Ahmedabad at around 10’ish at night. The station was pretty dark and we were the only ones in the station apart from a few locals. The train was late and as soon as the train came to the platform, all of us got into it with our heavily loaded luggage. We found our seats but some of our seats were already occupied. So immediately jumped into action was our ever dependable gang leader Ramya. She became furious instantly (everybody who knows her knows that you do not want to make her go there for the outcome is something you will not forget for a long time). She summoned the 3-4 people seated on the coach to vacate immediately. She took the train tickets and shoved it on their face confirming that they did not have any right to be there. The gentleman who was seated took his train tickets as well for the same seats. After about ten minutes of altercation, our other friend who is also named Ramya found out that we were on the wrong train. By the time this happened, the train was slowly about to move. We said a big sorry and jumped out of the train almost in time. We laughed about it so much the entire trip. Ramya is a fantastic cook and is now settled in Singapore. This is her recipe and her favorite city in India is Hyderabad. This recipe is a reminder of all the wonderful carefree, lovely college days. Hope you all will like it too! Here is a pic of both of us on some train journey. I cannot recollect now as to where and when this was taken. My dear Rem, love you lots, miss you and hope we can meet soon!
Click the link below to find the recipes on the site that uses the main ingredient as Chicken.
Chicken Recipes
Biryani Recipes
Here are some of the equipment, utensils and gadgets that will be useful for making this recipe. Click the link below to buy them online.
Le Creuset Cast Iron Casserole
Polypropylene Chopping Board
Teakwood Chopping Board
Silicone Spatula
High-End Nakiri Knife
Glass Mixing Bowls (500 ml)
Glass Mixing Bowl
Frying Pan with wooden handle
Large Strainer / Colander
Here is a step by step video of how to do Hyderabadi Chicken Dum Biryani Recipe at home from scratch
Here is a step by step pictorial with images of how to do Hyderabadi Chicken Dum Biryani Recipe at home from scratch
There are a lot of versions of Hyderabadi style chicken dum biryani and this is my friend’s version. There is no right and wrong when it comes to recipes. Just follow your heart and do what your family likes at the table. There is a lot of prep work involved in making this Hyderabadi Chicken Dum Biryani Recipe. Give yourselves a couple of hours from start to finish so you are not hurried while making.
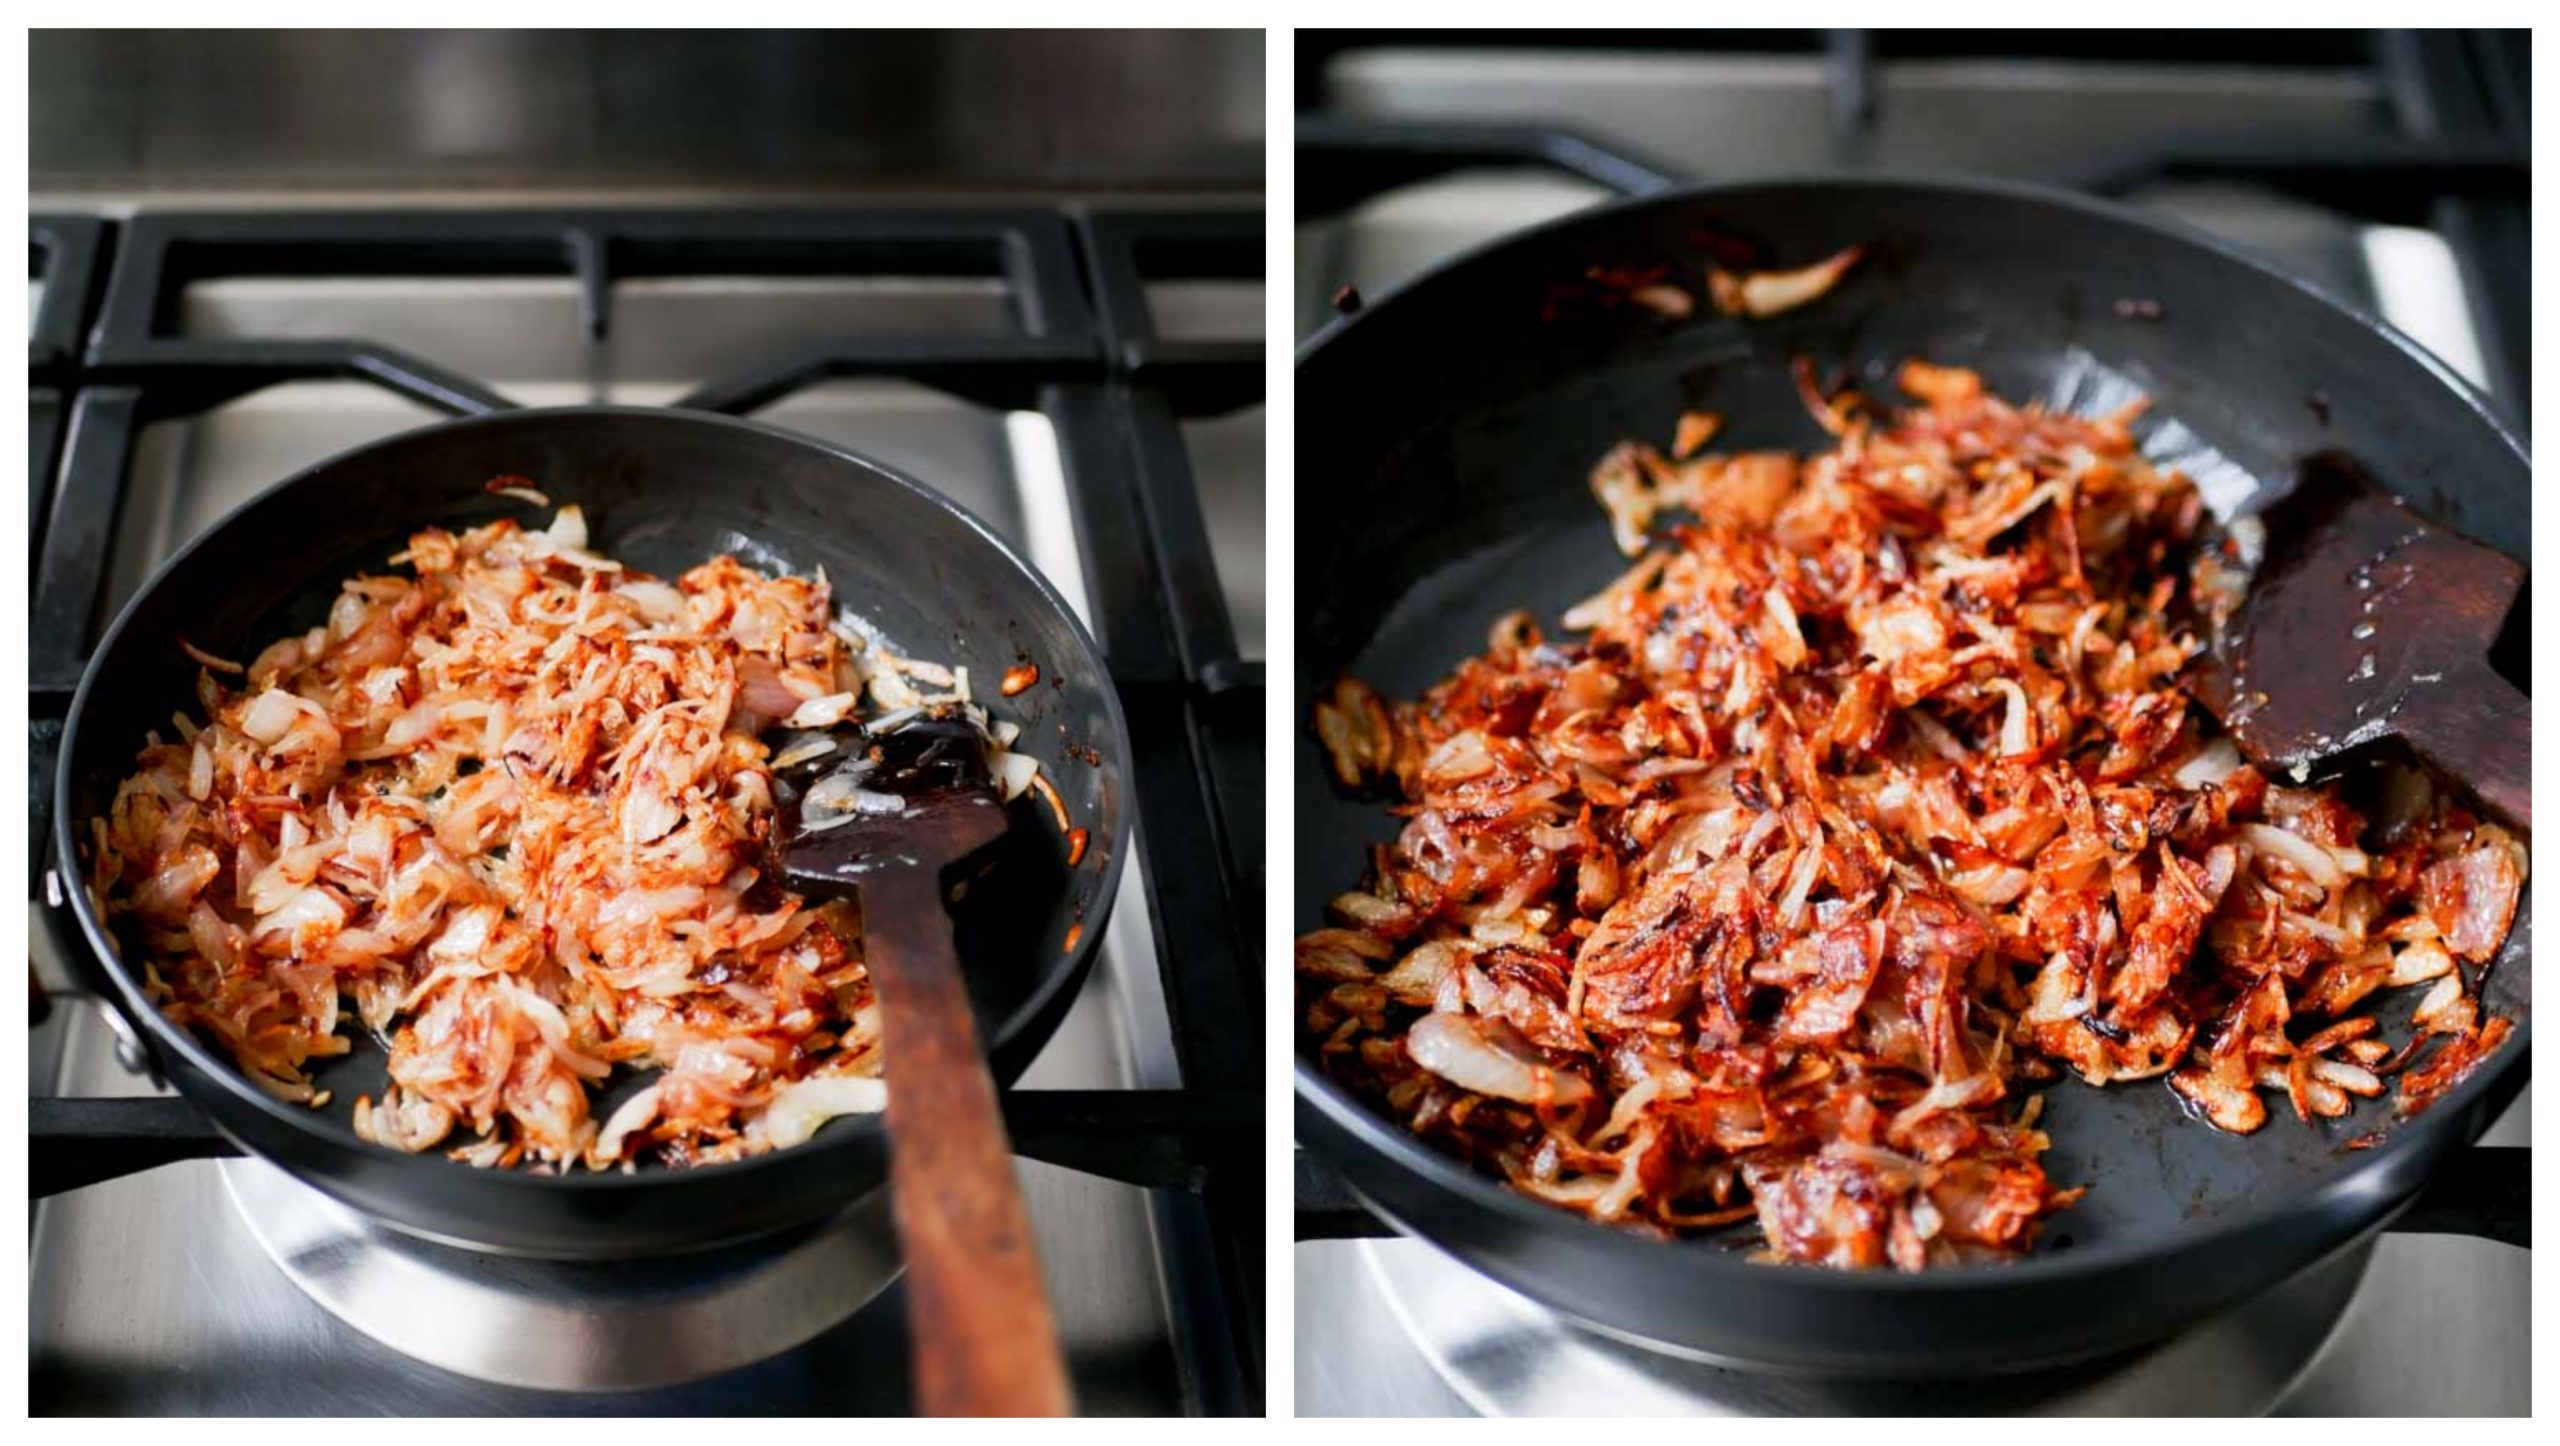
Deep fried onions – Birista
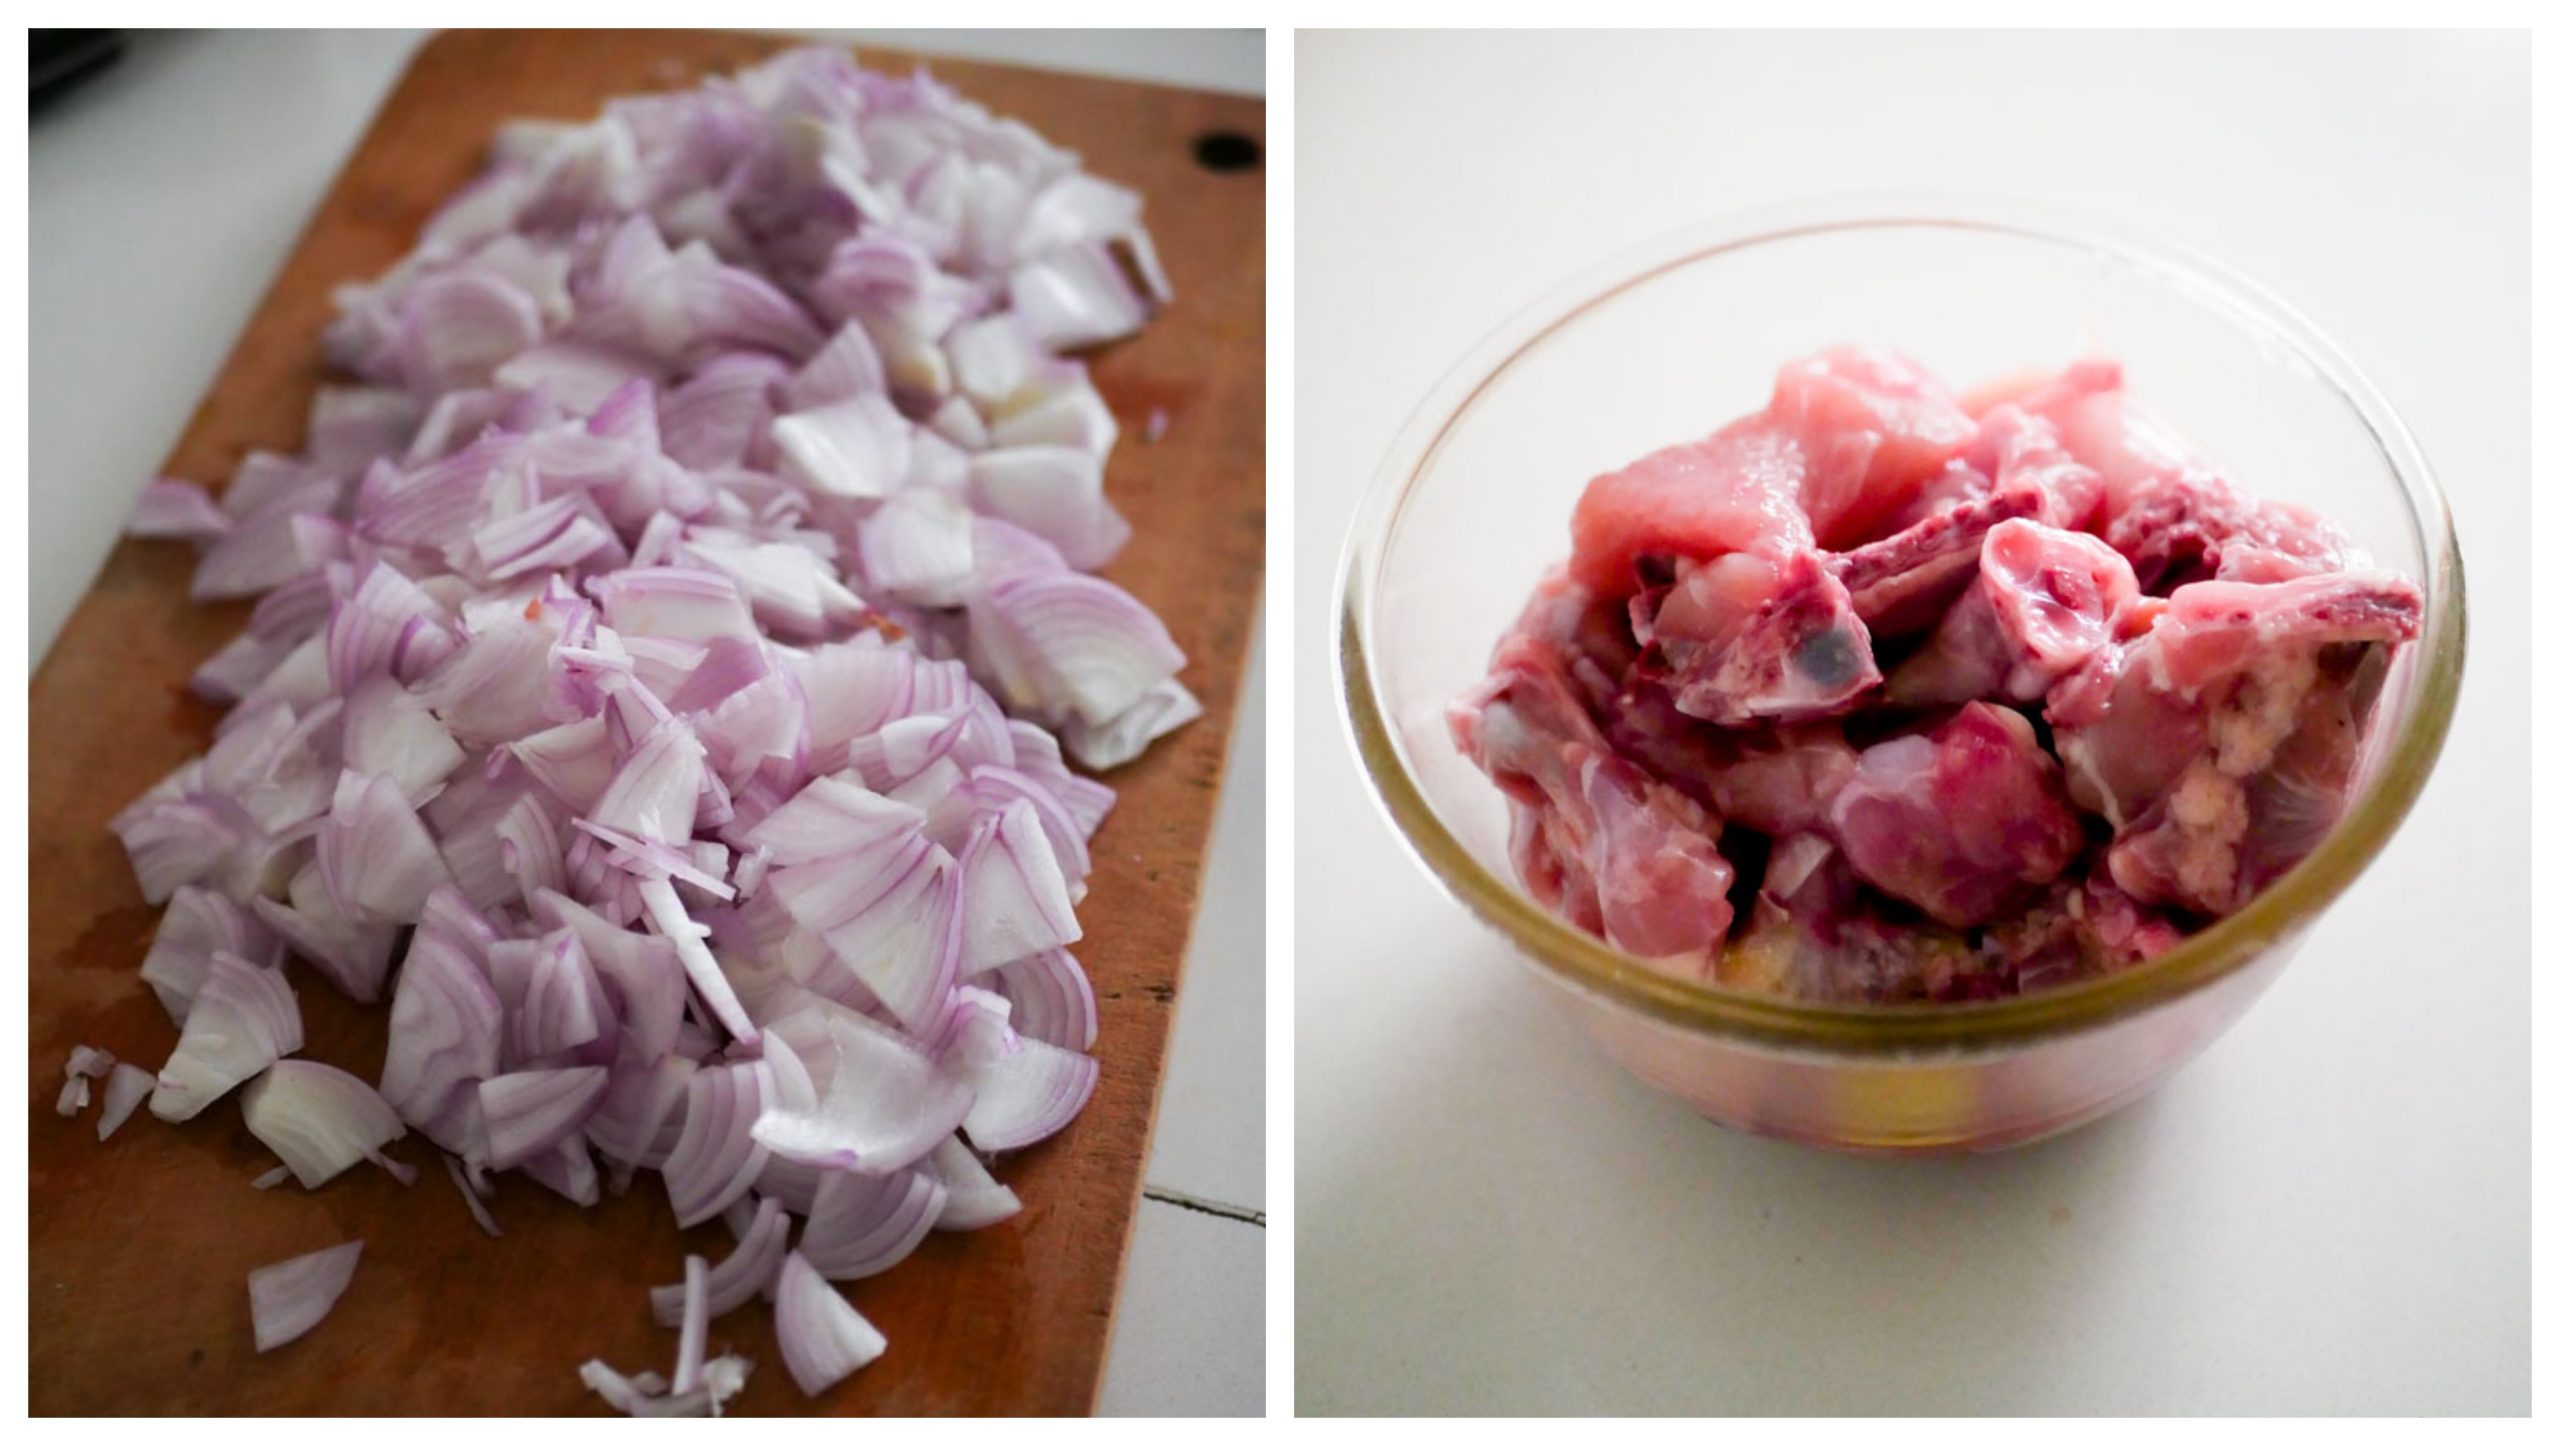
The thing about Hyderabadi style chicken dum biryani is the addition of the wonderful crispy deep fried onions called the birista or the bristha. Here is how I do it. Take about 500 grams of onions and slice it thinly. The ratio is 1:1. I have used 500 grams chicken and so I will use 500 grams onions (about 4-5 small Indian red onions)
Add quarter cup of ghee to a heavy pan and add in the onions. Now, fried onions take anywhere between 20-25 minutes to get that deep brown colour. This is the first thing I start in the kitchen when making biryani so I can get all the other prep work done when the onions are cooking and doing its magic. Keep sauteing.
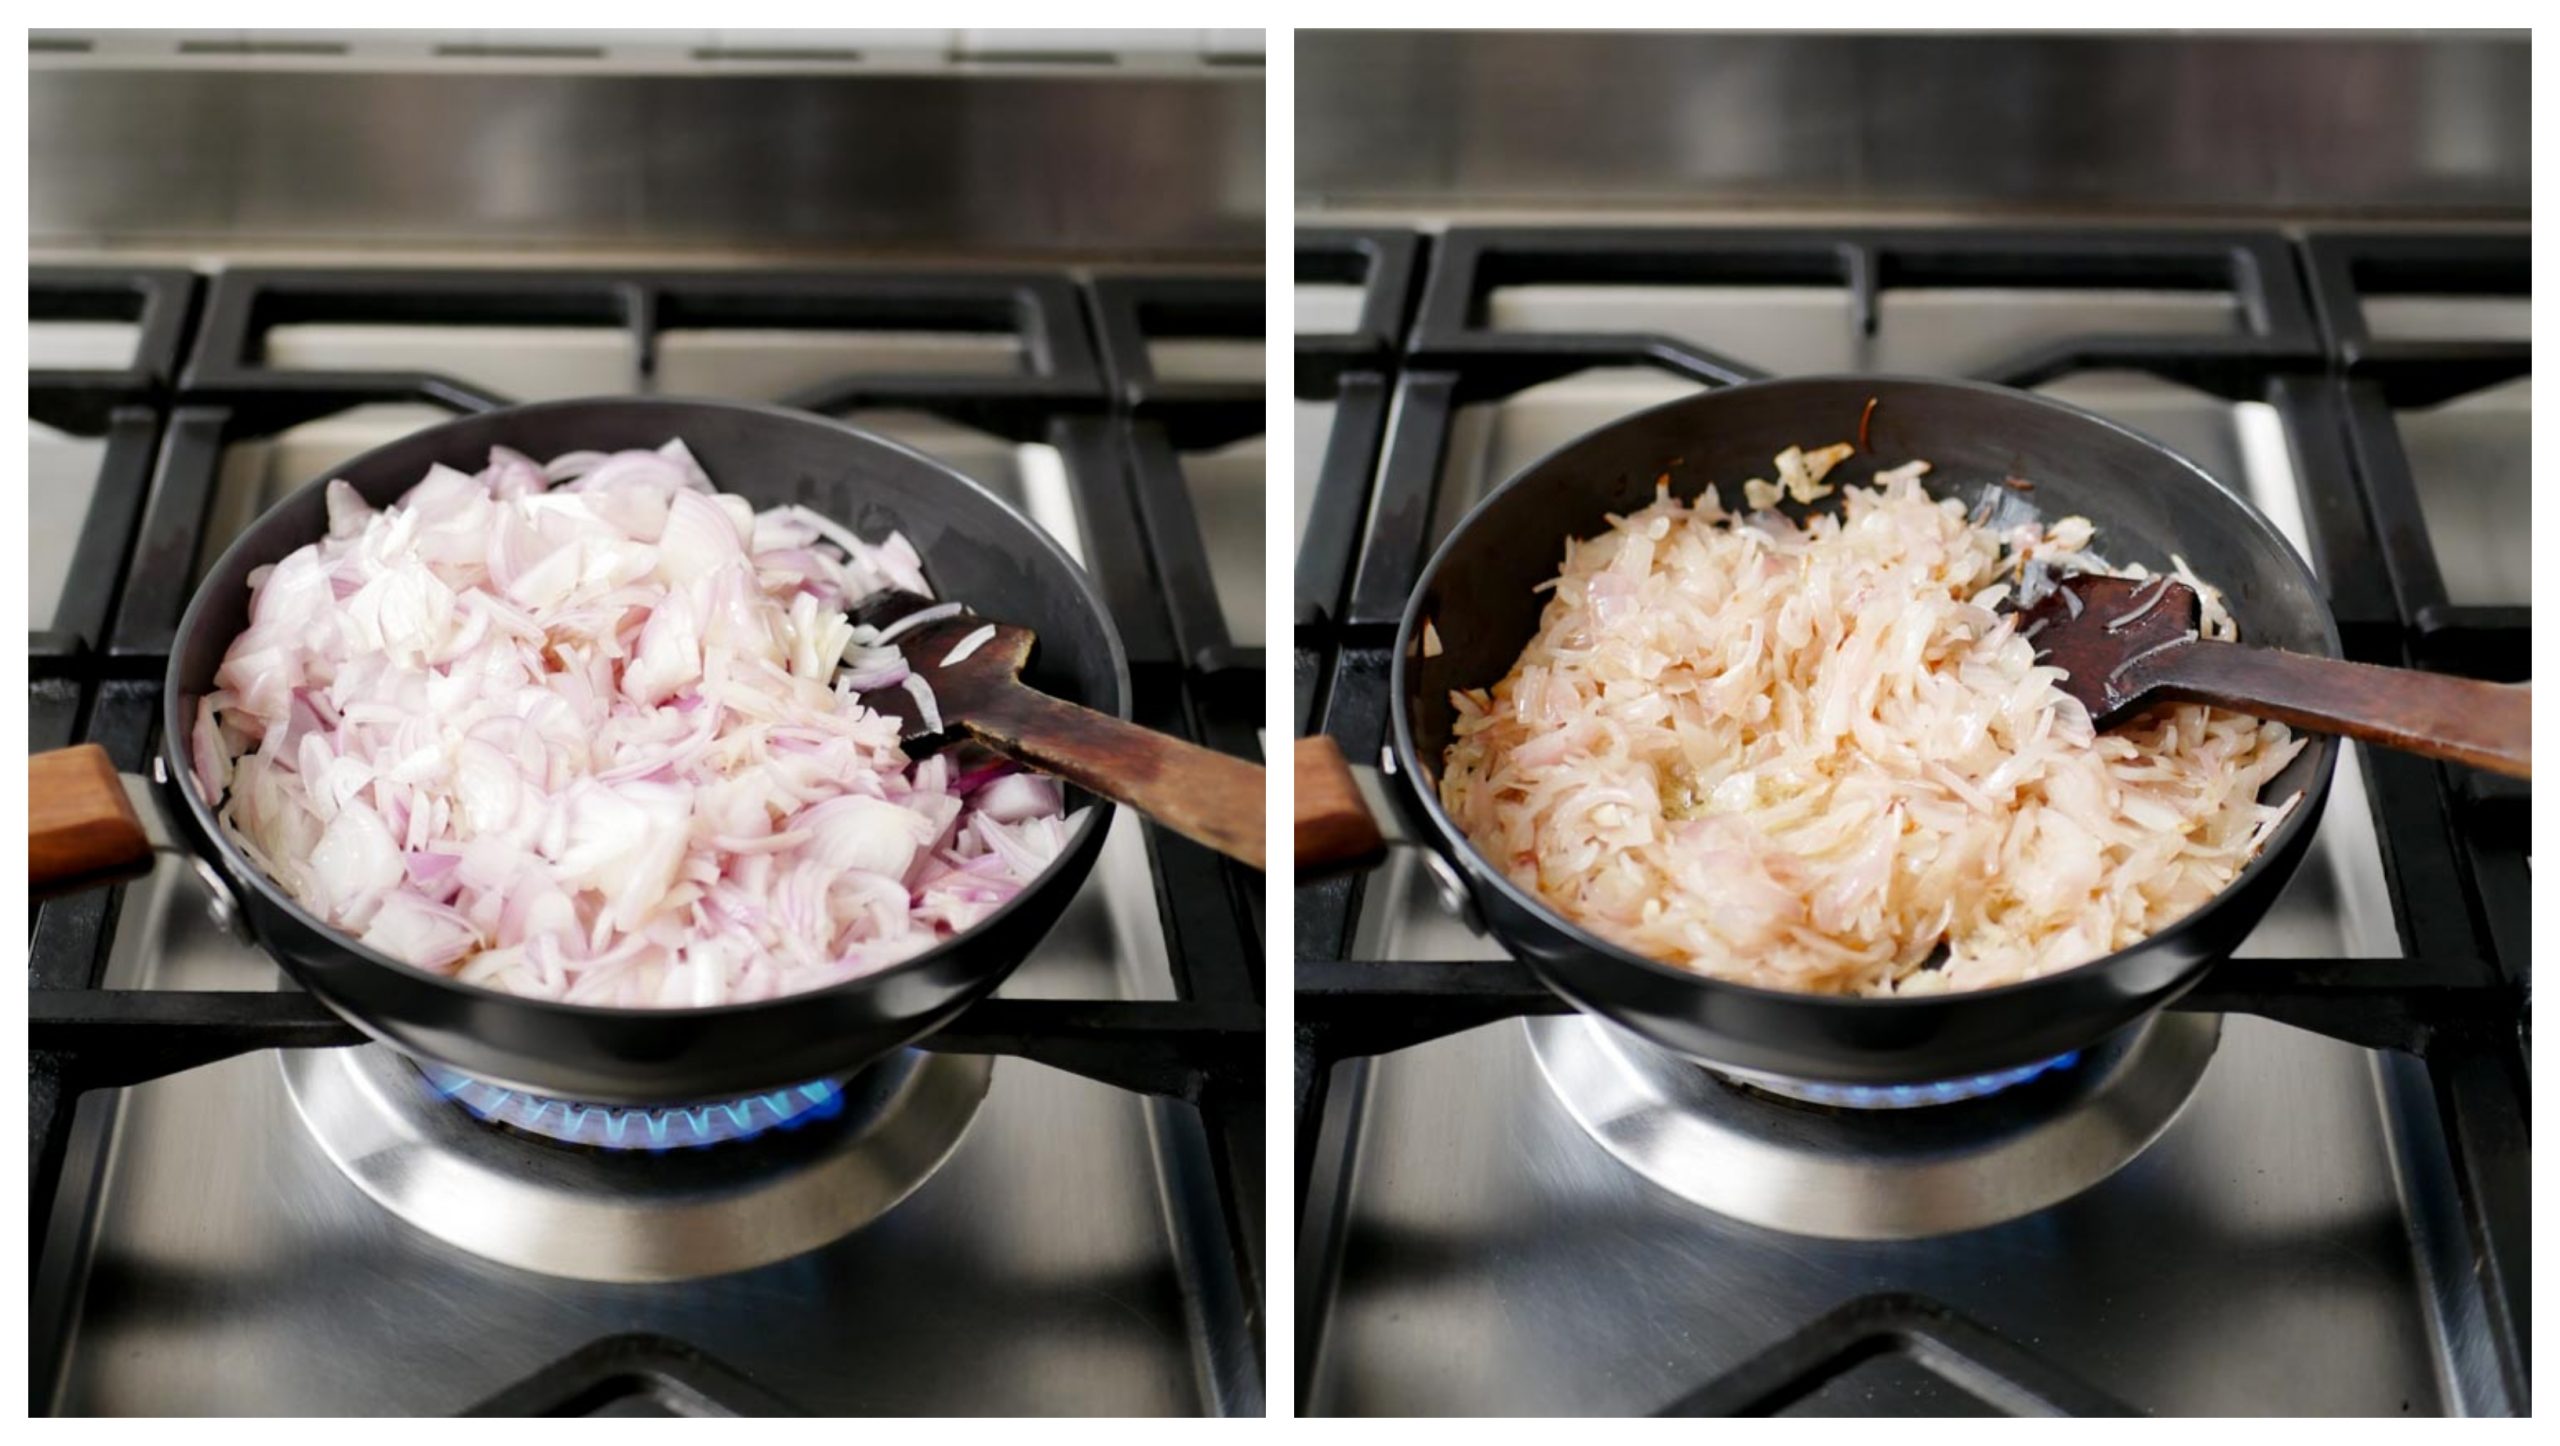
The onions would slowly start to brown and change colour to a deep cocoa. Keep sauteing every couple of minutes as the onions in the corner of the pan tend to brown faster. So keep moving and mixing things. Once the onions are nice and brown, remove the onions and set aside. We will use half of the onions for marinating the chicken and half of it while layering the Hyderabadi style chicken dum biryani.
Note: If you plan on marinating your chicken over-nite, then do the fried onions / bristha the day before. Store the fried onions in an air tight container at room temperature. Some people add a little salt to their fried onions but I do not. Its a personal thing. Salt the onions if you like.
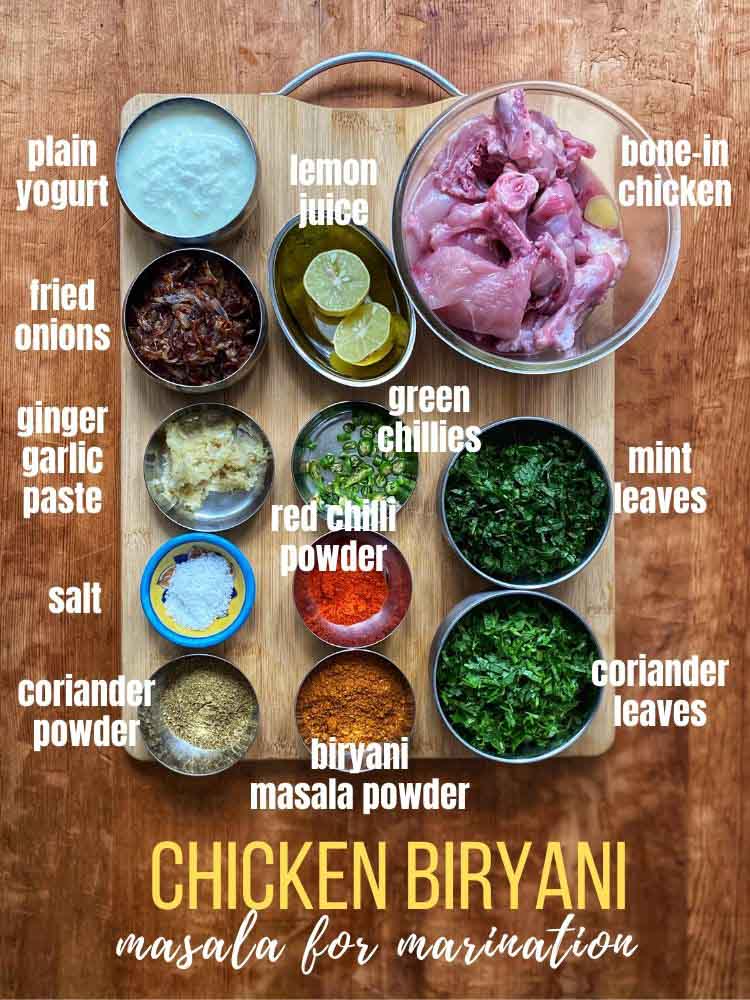
Marinating the chicken
Here are the things you will need for marinating the chicken for Hyderabadi style chicken dum biryani.
A note on biryani masala for making Hyderabadi style chicken dum biryani.
You can use homemade or store-bought biryani masala for this recipe. These days, store bought biryani masala is equally good. Here are my preferred brands. Click to buy Biryani Masala online
Bone-In chicken is preferred for making Hyderabadi style chicken dum biryani as bone has a lot of flavour. Take a big bowl and add in all the ingredients listed under marination for Hyderabadi style chicken dum biryani. Marinate for at-least 3 hours or over nite in the refrigerator.

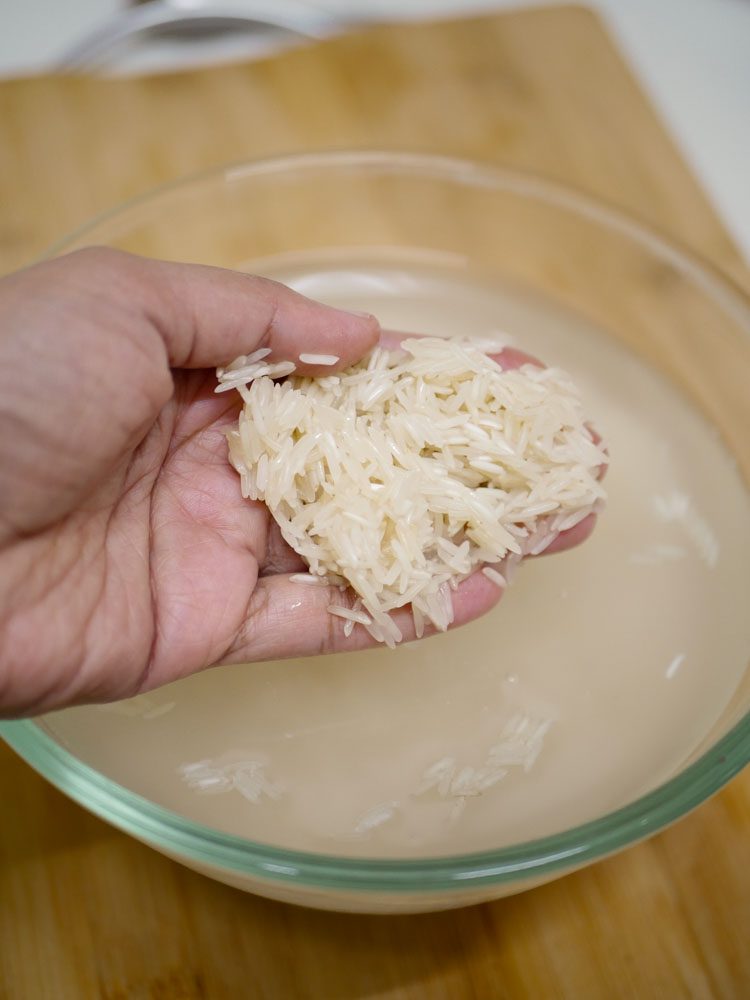
Rice
I prefer to use Daawat basmati rice or Lal Qila basmati rice. These two brands work really well and the rice cooks nicely as long grains without becoming mushy.
Wash and soak the rice in water before starting to cook for at-least 30 minutes. Soaking the rice helps the rice from becoming mushy while cooked.
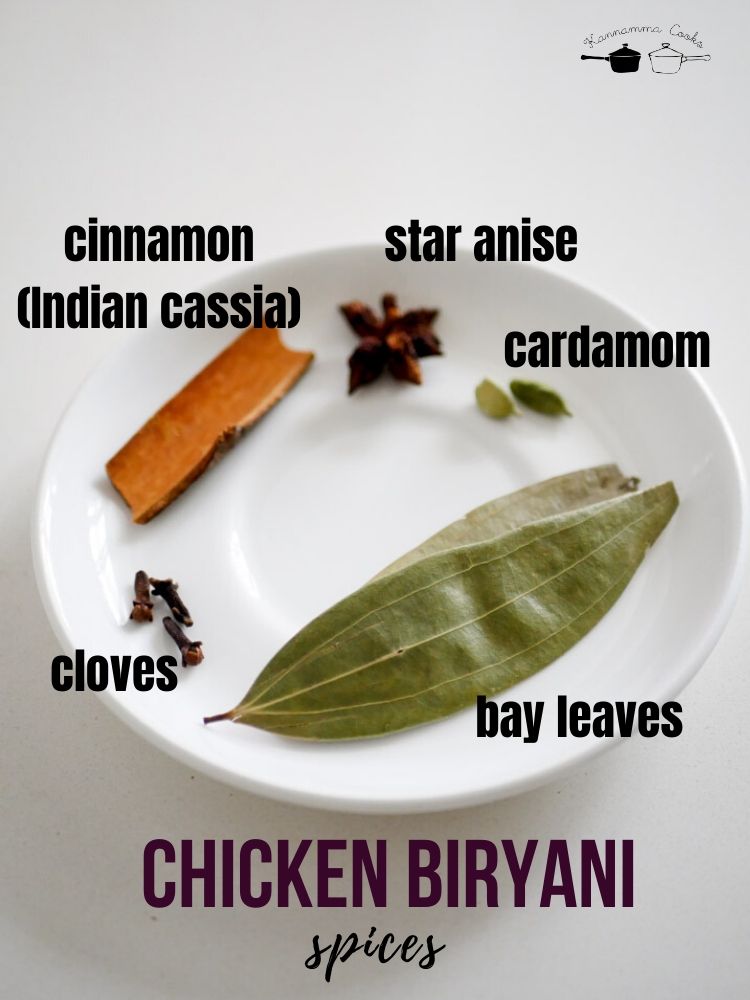
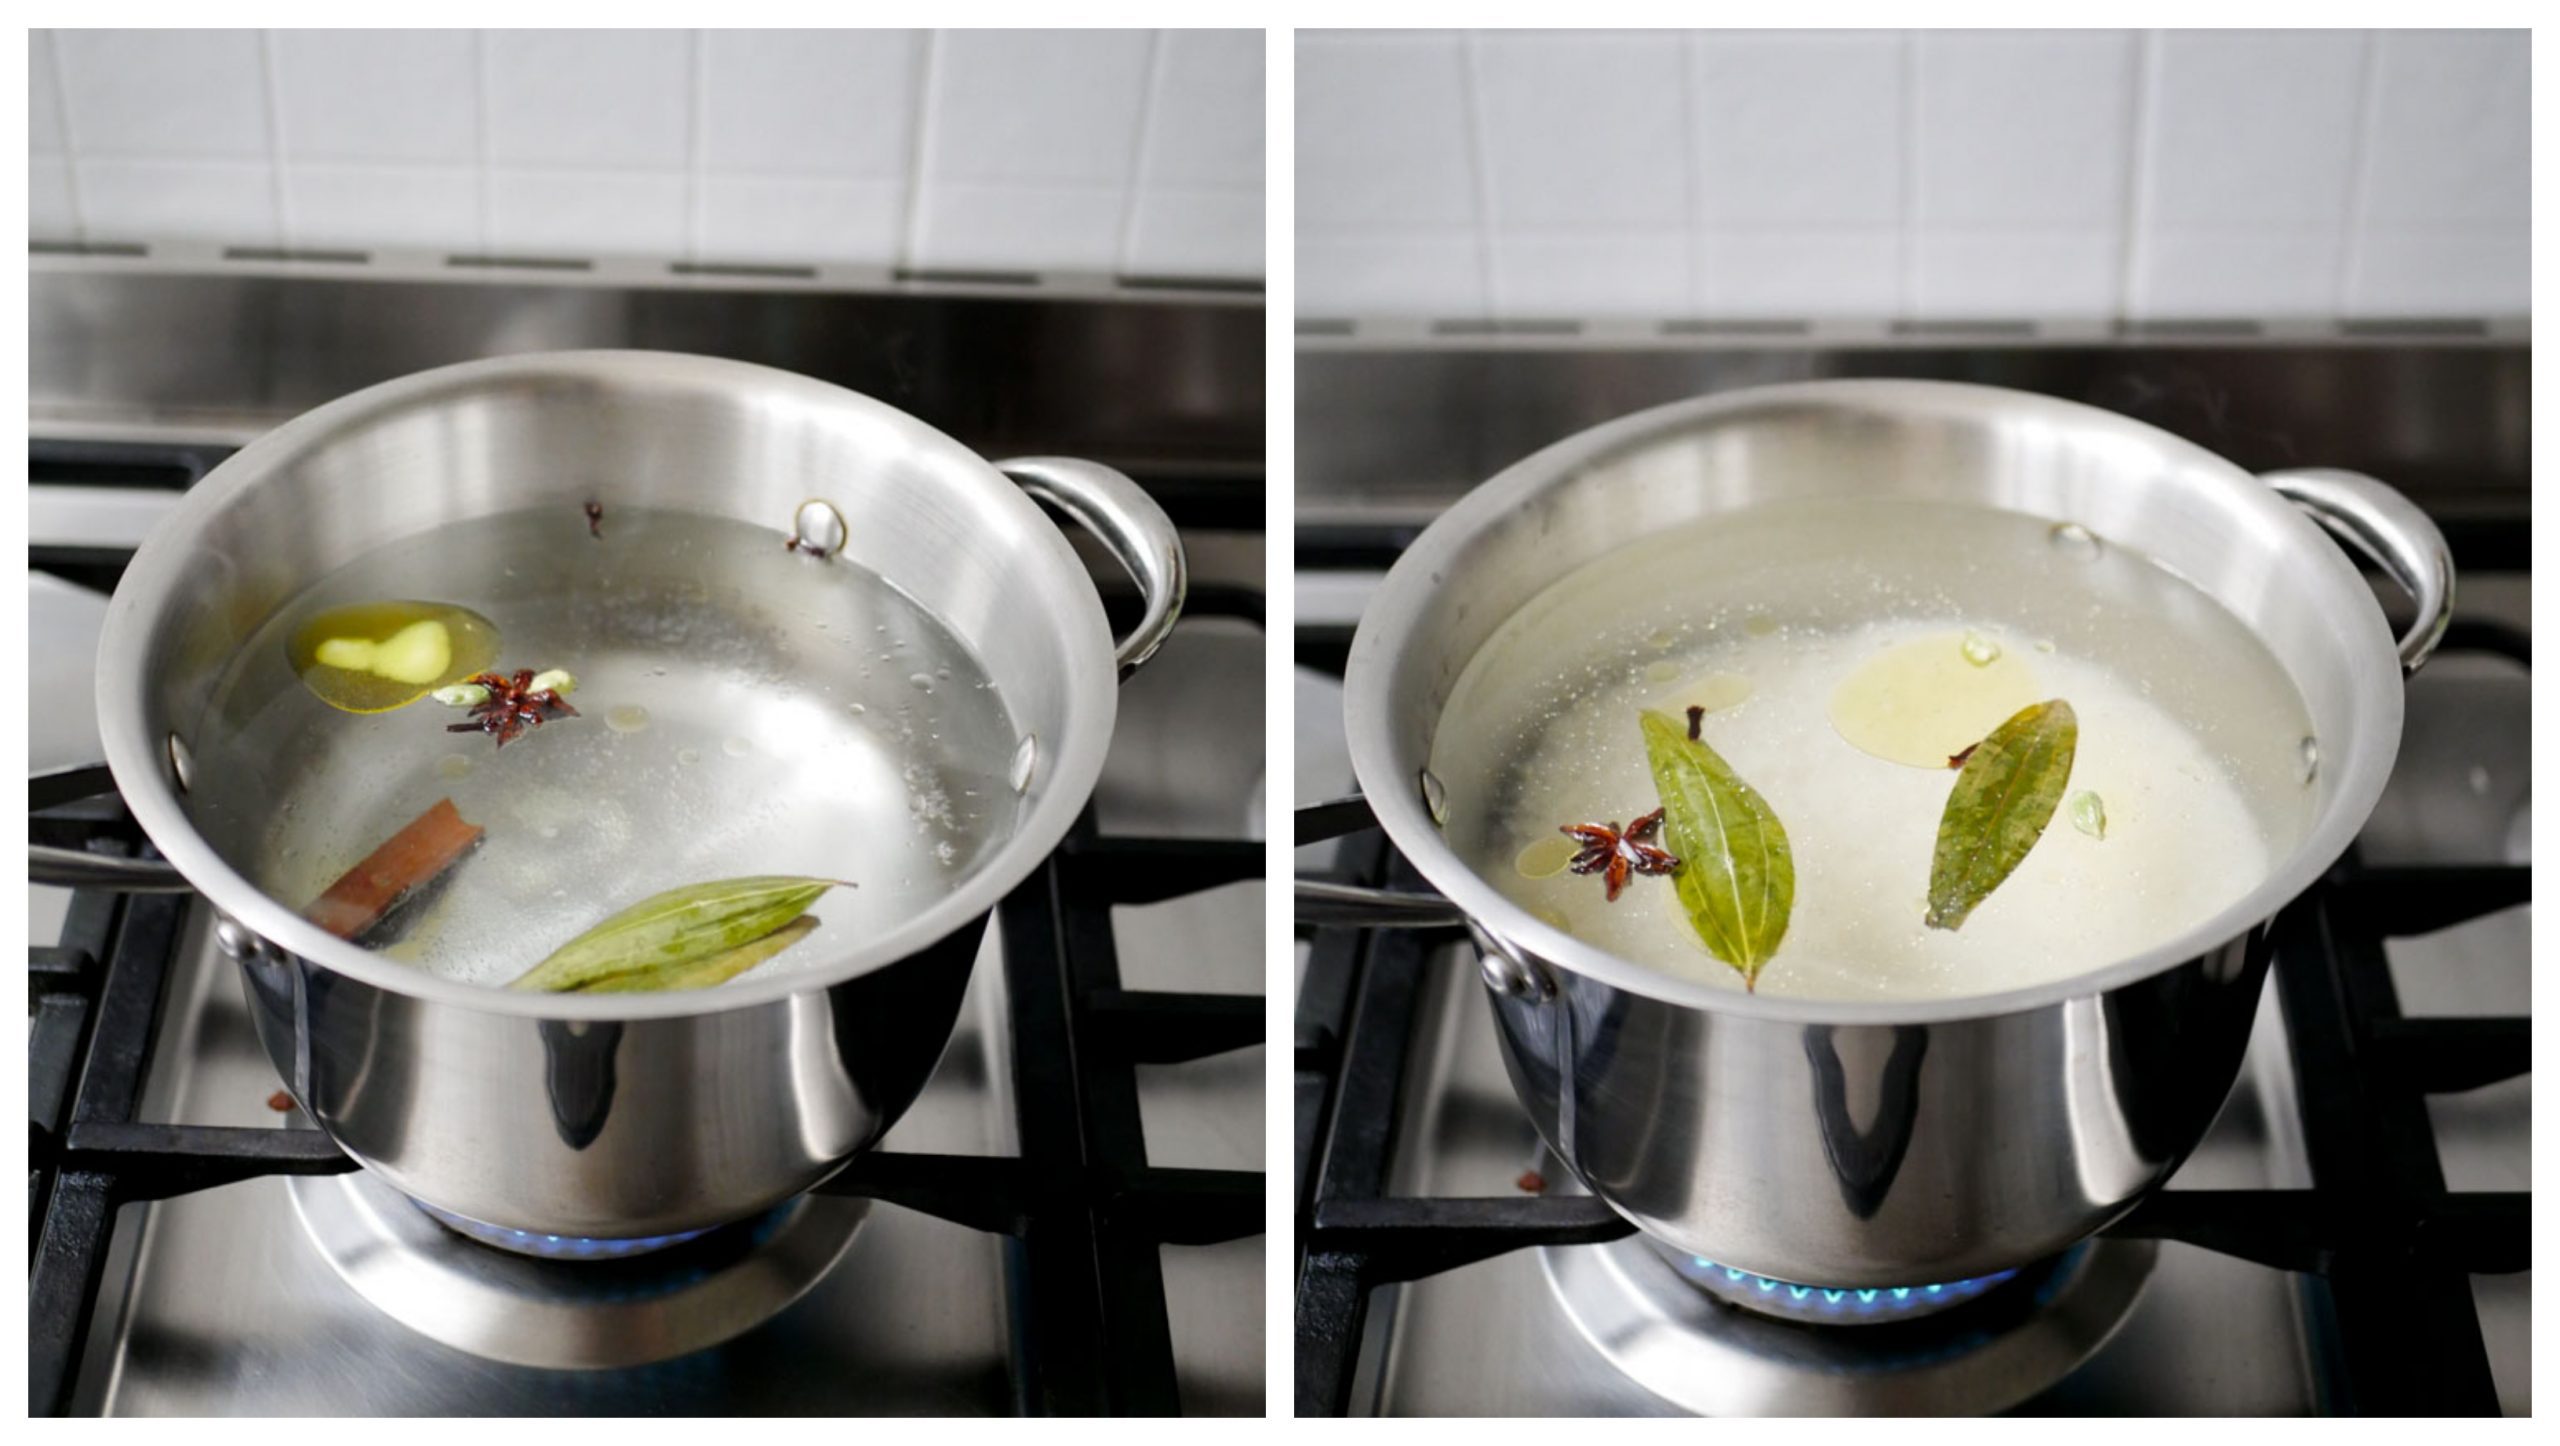
We will cook the rice along with some spices for aroma. Here are the spices that I have used today for making Hyderabadi style chicken dum biryani.
Bring a big pot of water to a boil. Once the water comes to a boil, add in the spices, salt and the ghee. Add in the soaked and drained rice. Let the rice cook in the boiling water. It will take roughly about 10-15 minutes to cook the rice depending on the age of the rice. So keep checking. Aged rice takes more time to cook.
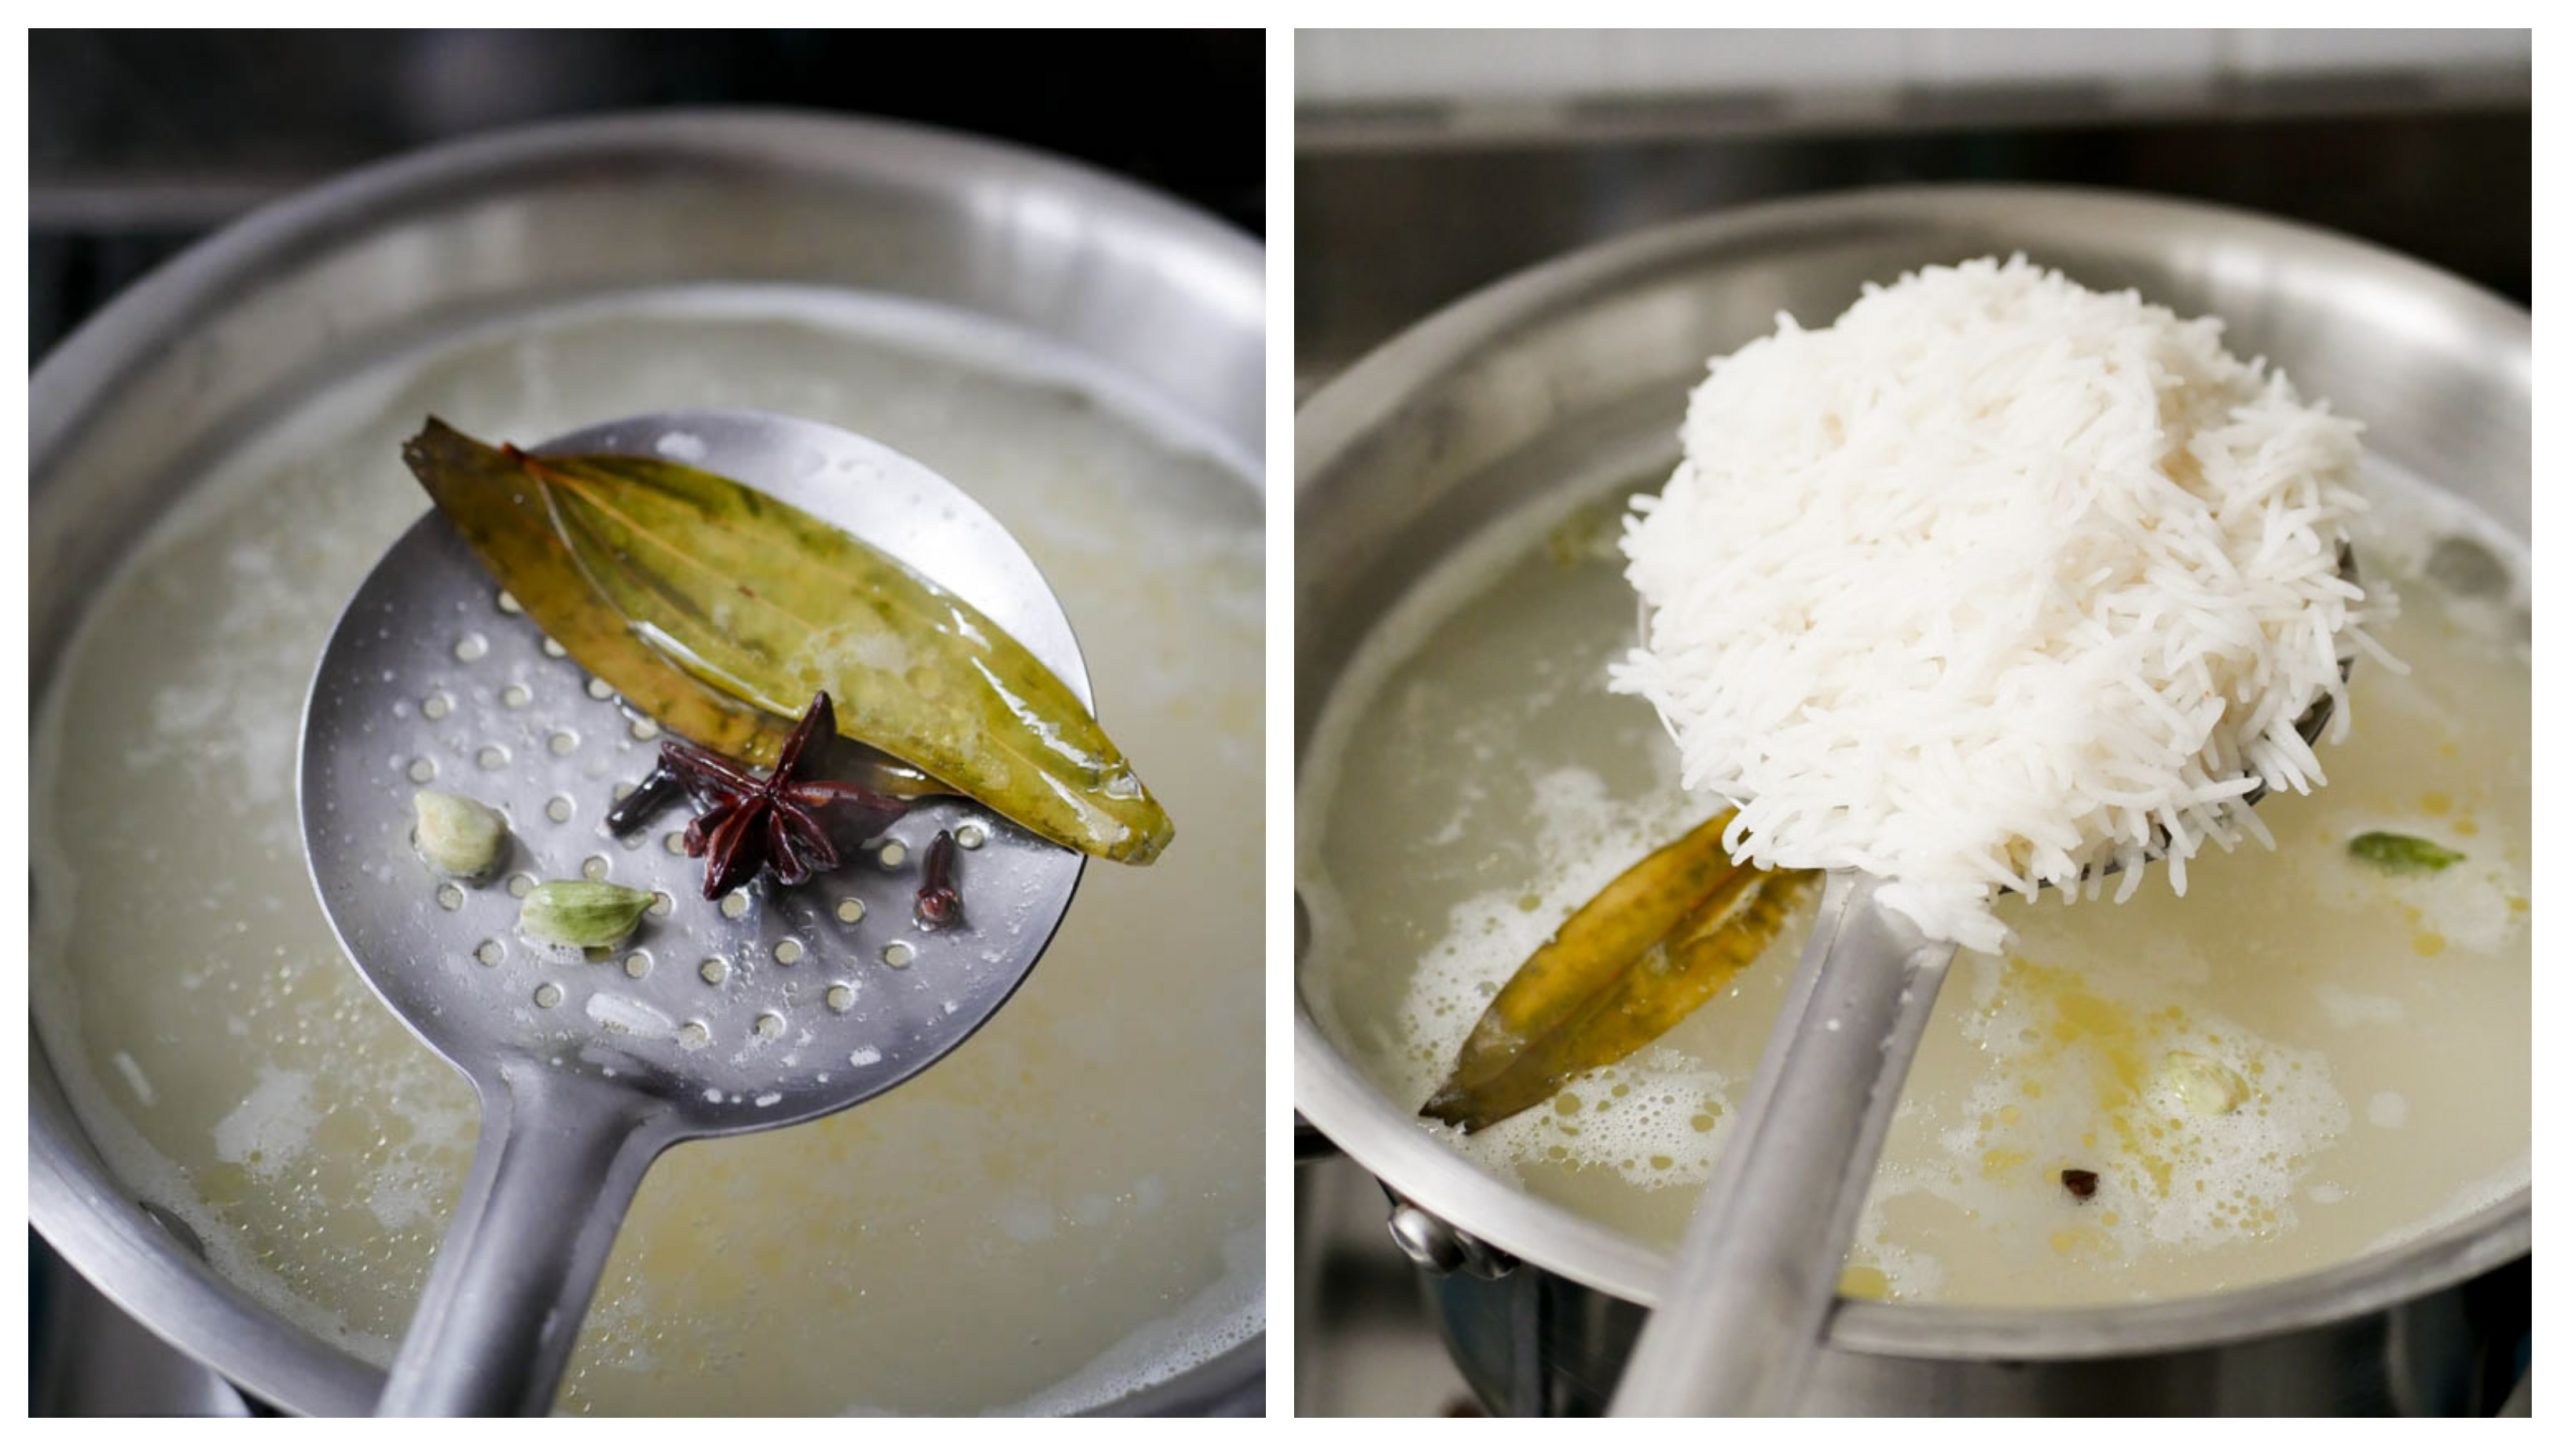
The rice should be cooked about 80-90 percent. When you eat a grain of rice, it should be cooked but still firm. It should be a little al-dente when you chew. At this stage, drain the rice. Before draining the rice, remove the spices. You do not want anyone chewing on cardamom or clove when they take a bite of their Hyderabadi style chicken dum biryani. It will ruin the palate. So I always remove the spices if possible and in a recipe like this, its easy to remove it too.
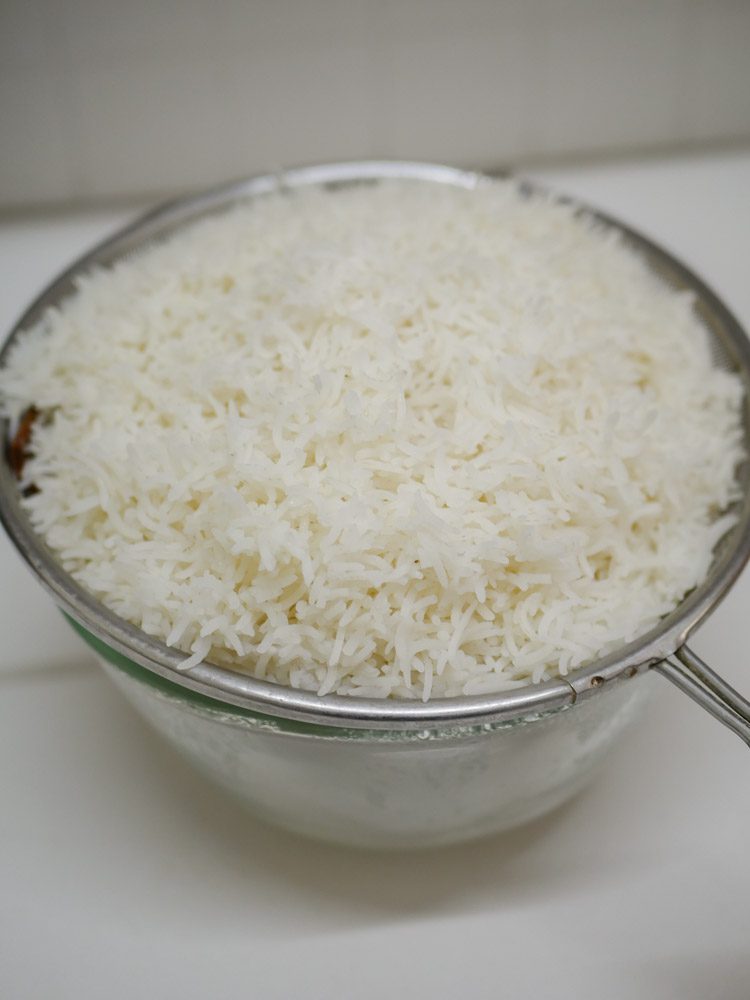
Drain the rice on a colander and set aside.
Cooking the Chicken Masala for making Hyderabadi style chicken dum biryani
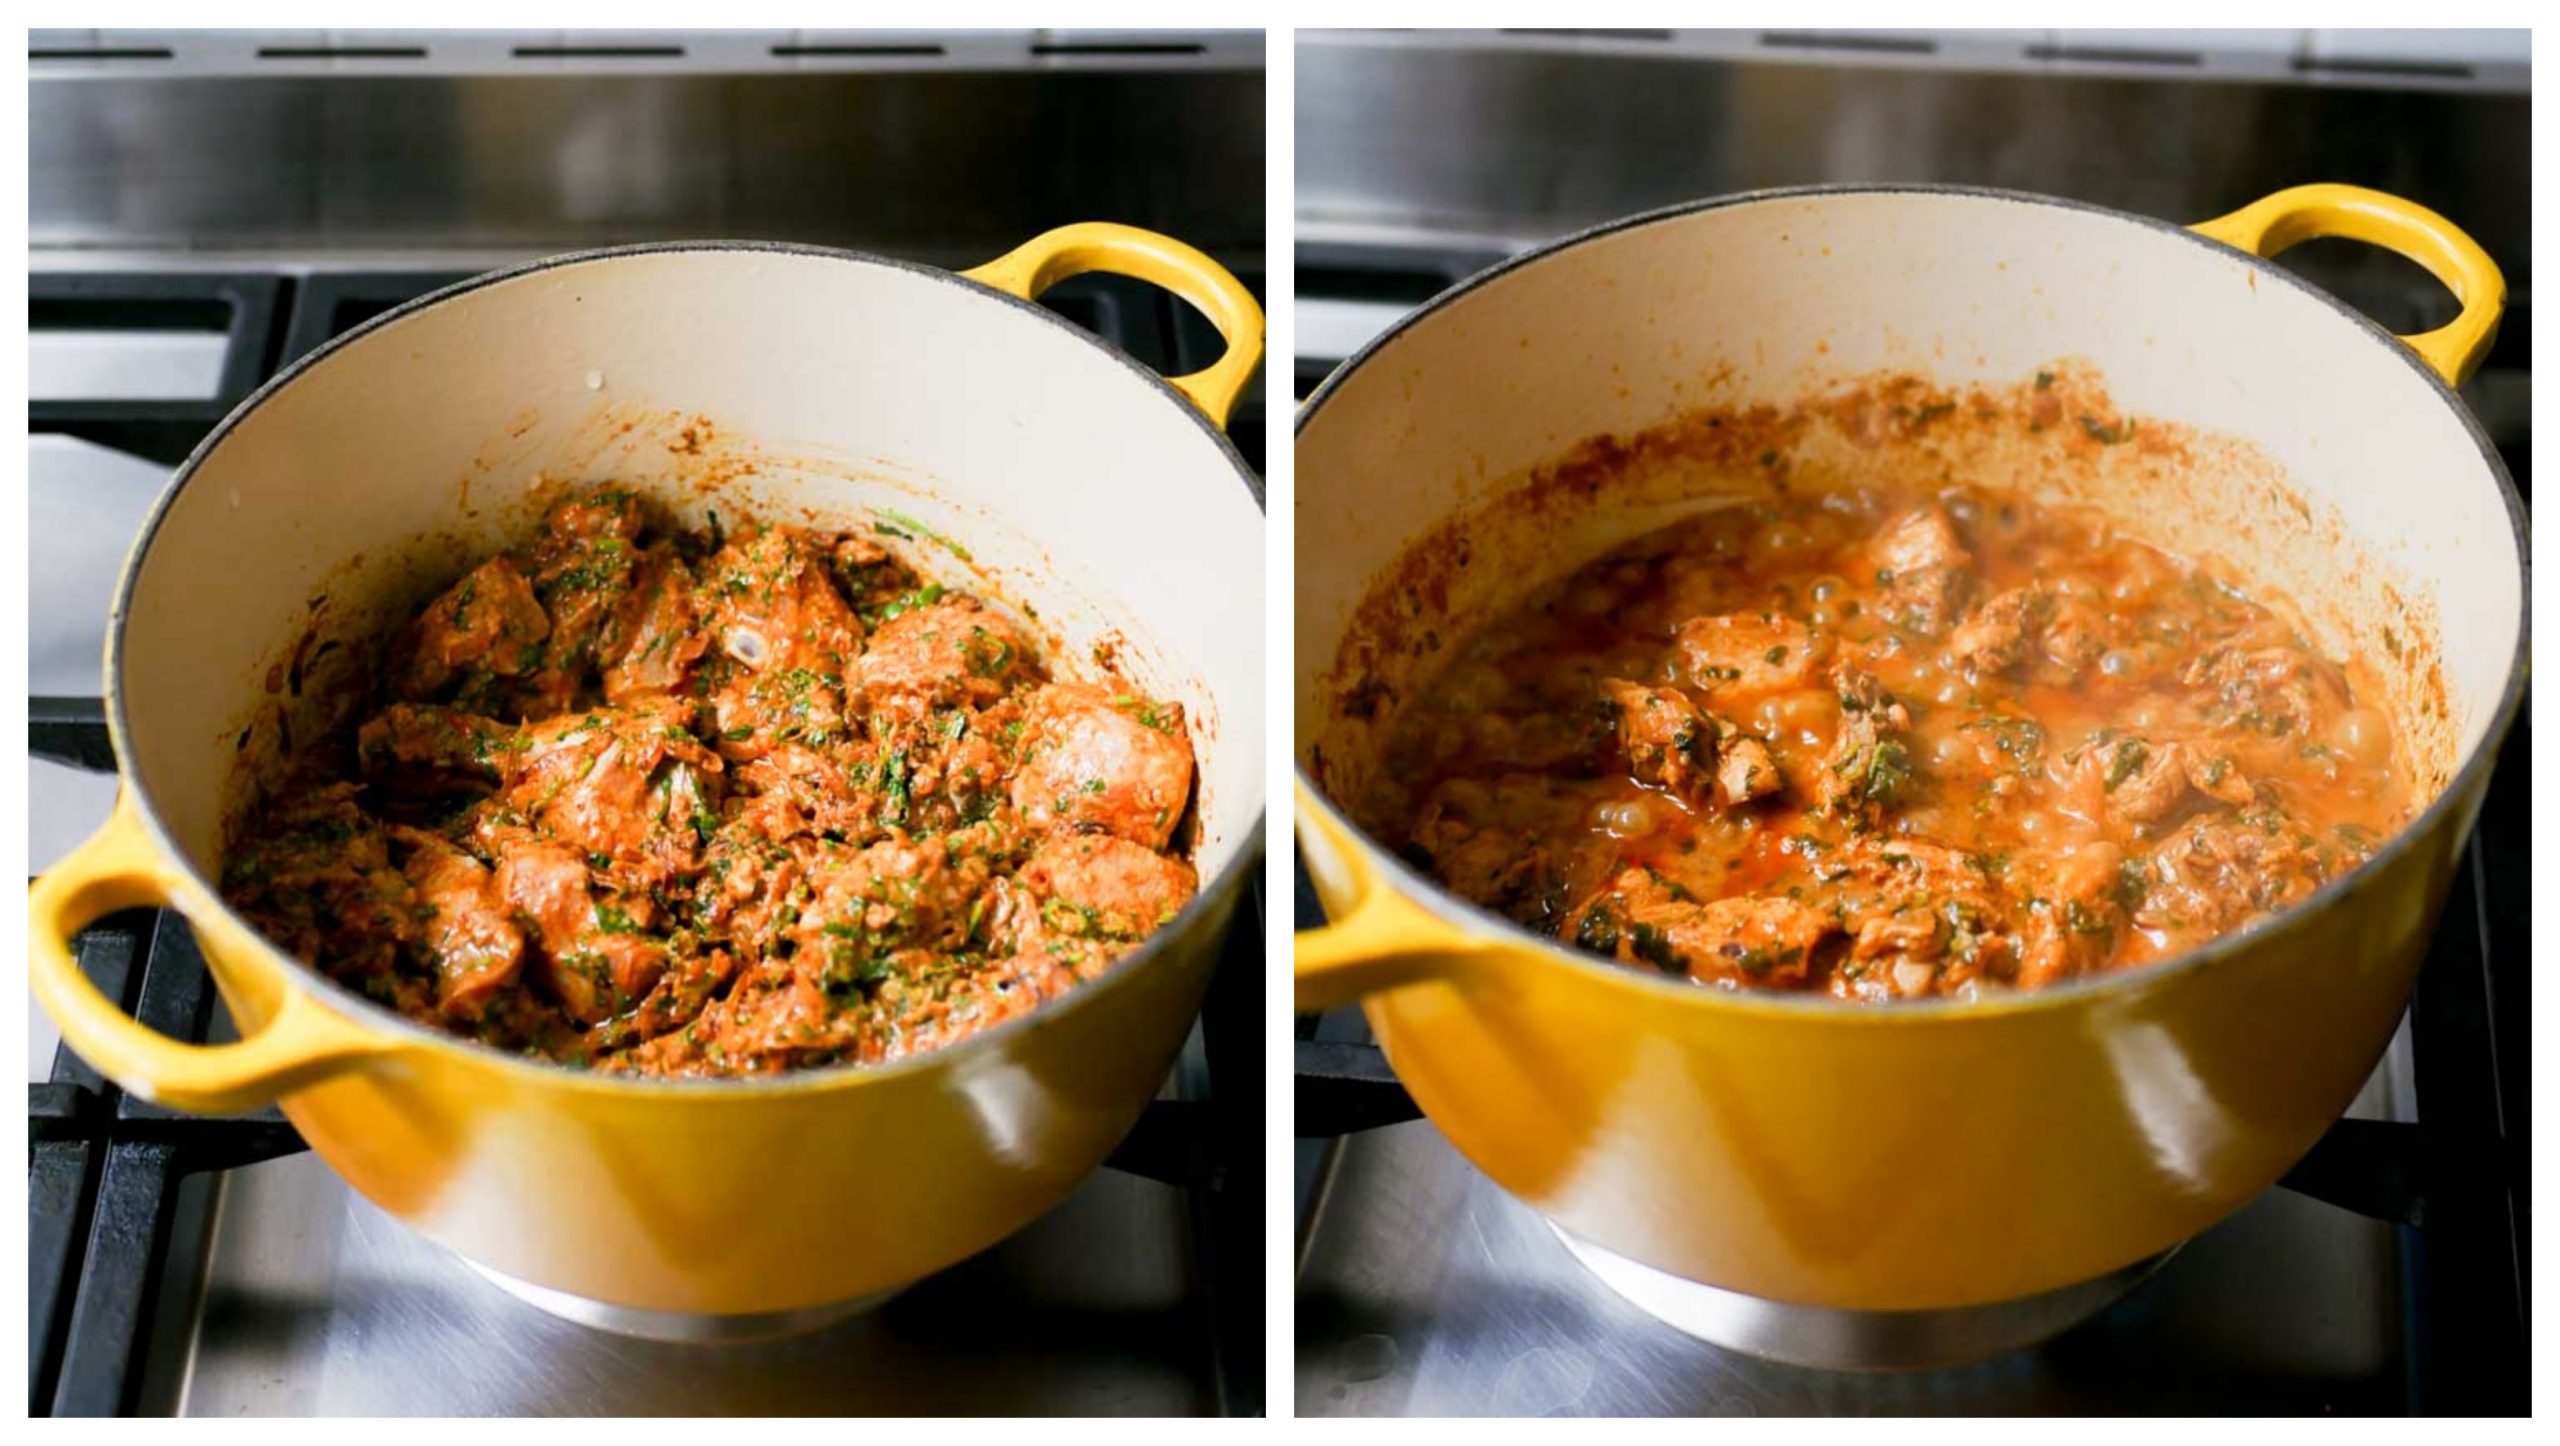
Heat ghee in a heavy pan. Heavy pan is necessary as we will put the Hyderabadi style chicken dum biryani for “dum” later in the same pan. Add in the marinated chicken to the pan. Keep the flame on medium and cover the pan with a lid. Cook for 15 minutes. Saute once or twice in between to avoid the chicken from scorching at the bottom. During cooking, if the chicken is very dry, feel free to add half a cup of water. Do not add a lot of water as we need a thick gravy for making Hyderabadi style chicken dum biryani. Once the chicken is cooked, remove from heat and set aside.
Layering the biryani.
Soak the saffron in quarter cup of really hot milk or water. Other things we will need for layering apart from the rice and chicken masala are the fried onions, chopped mint, coriander leaves and the saffron milk.
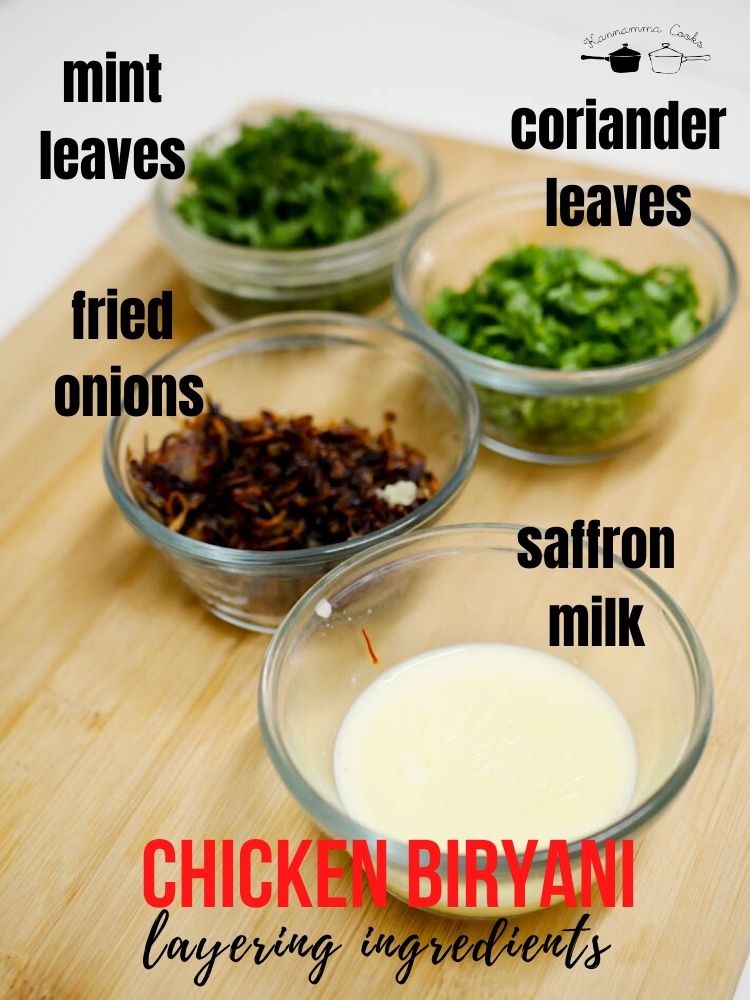
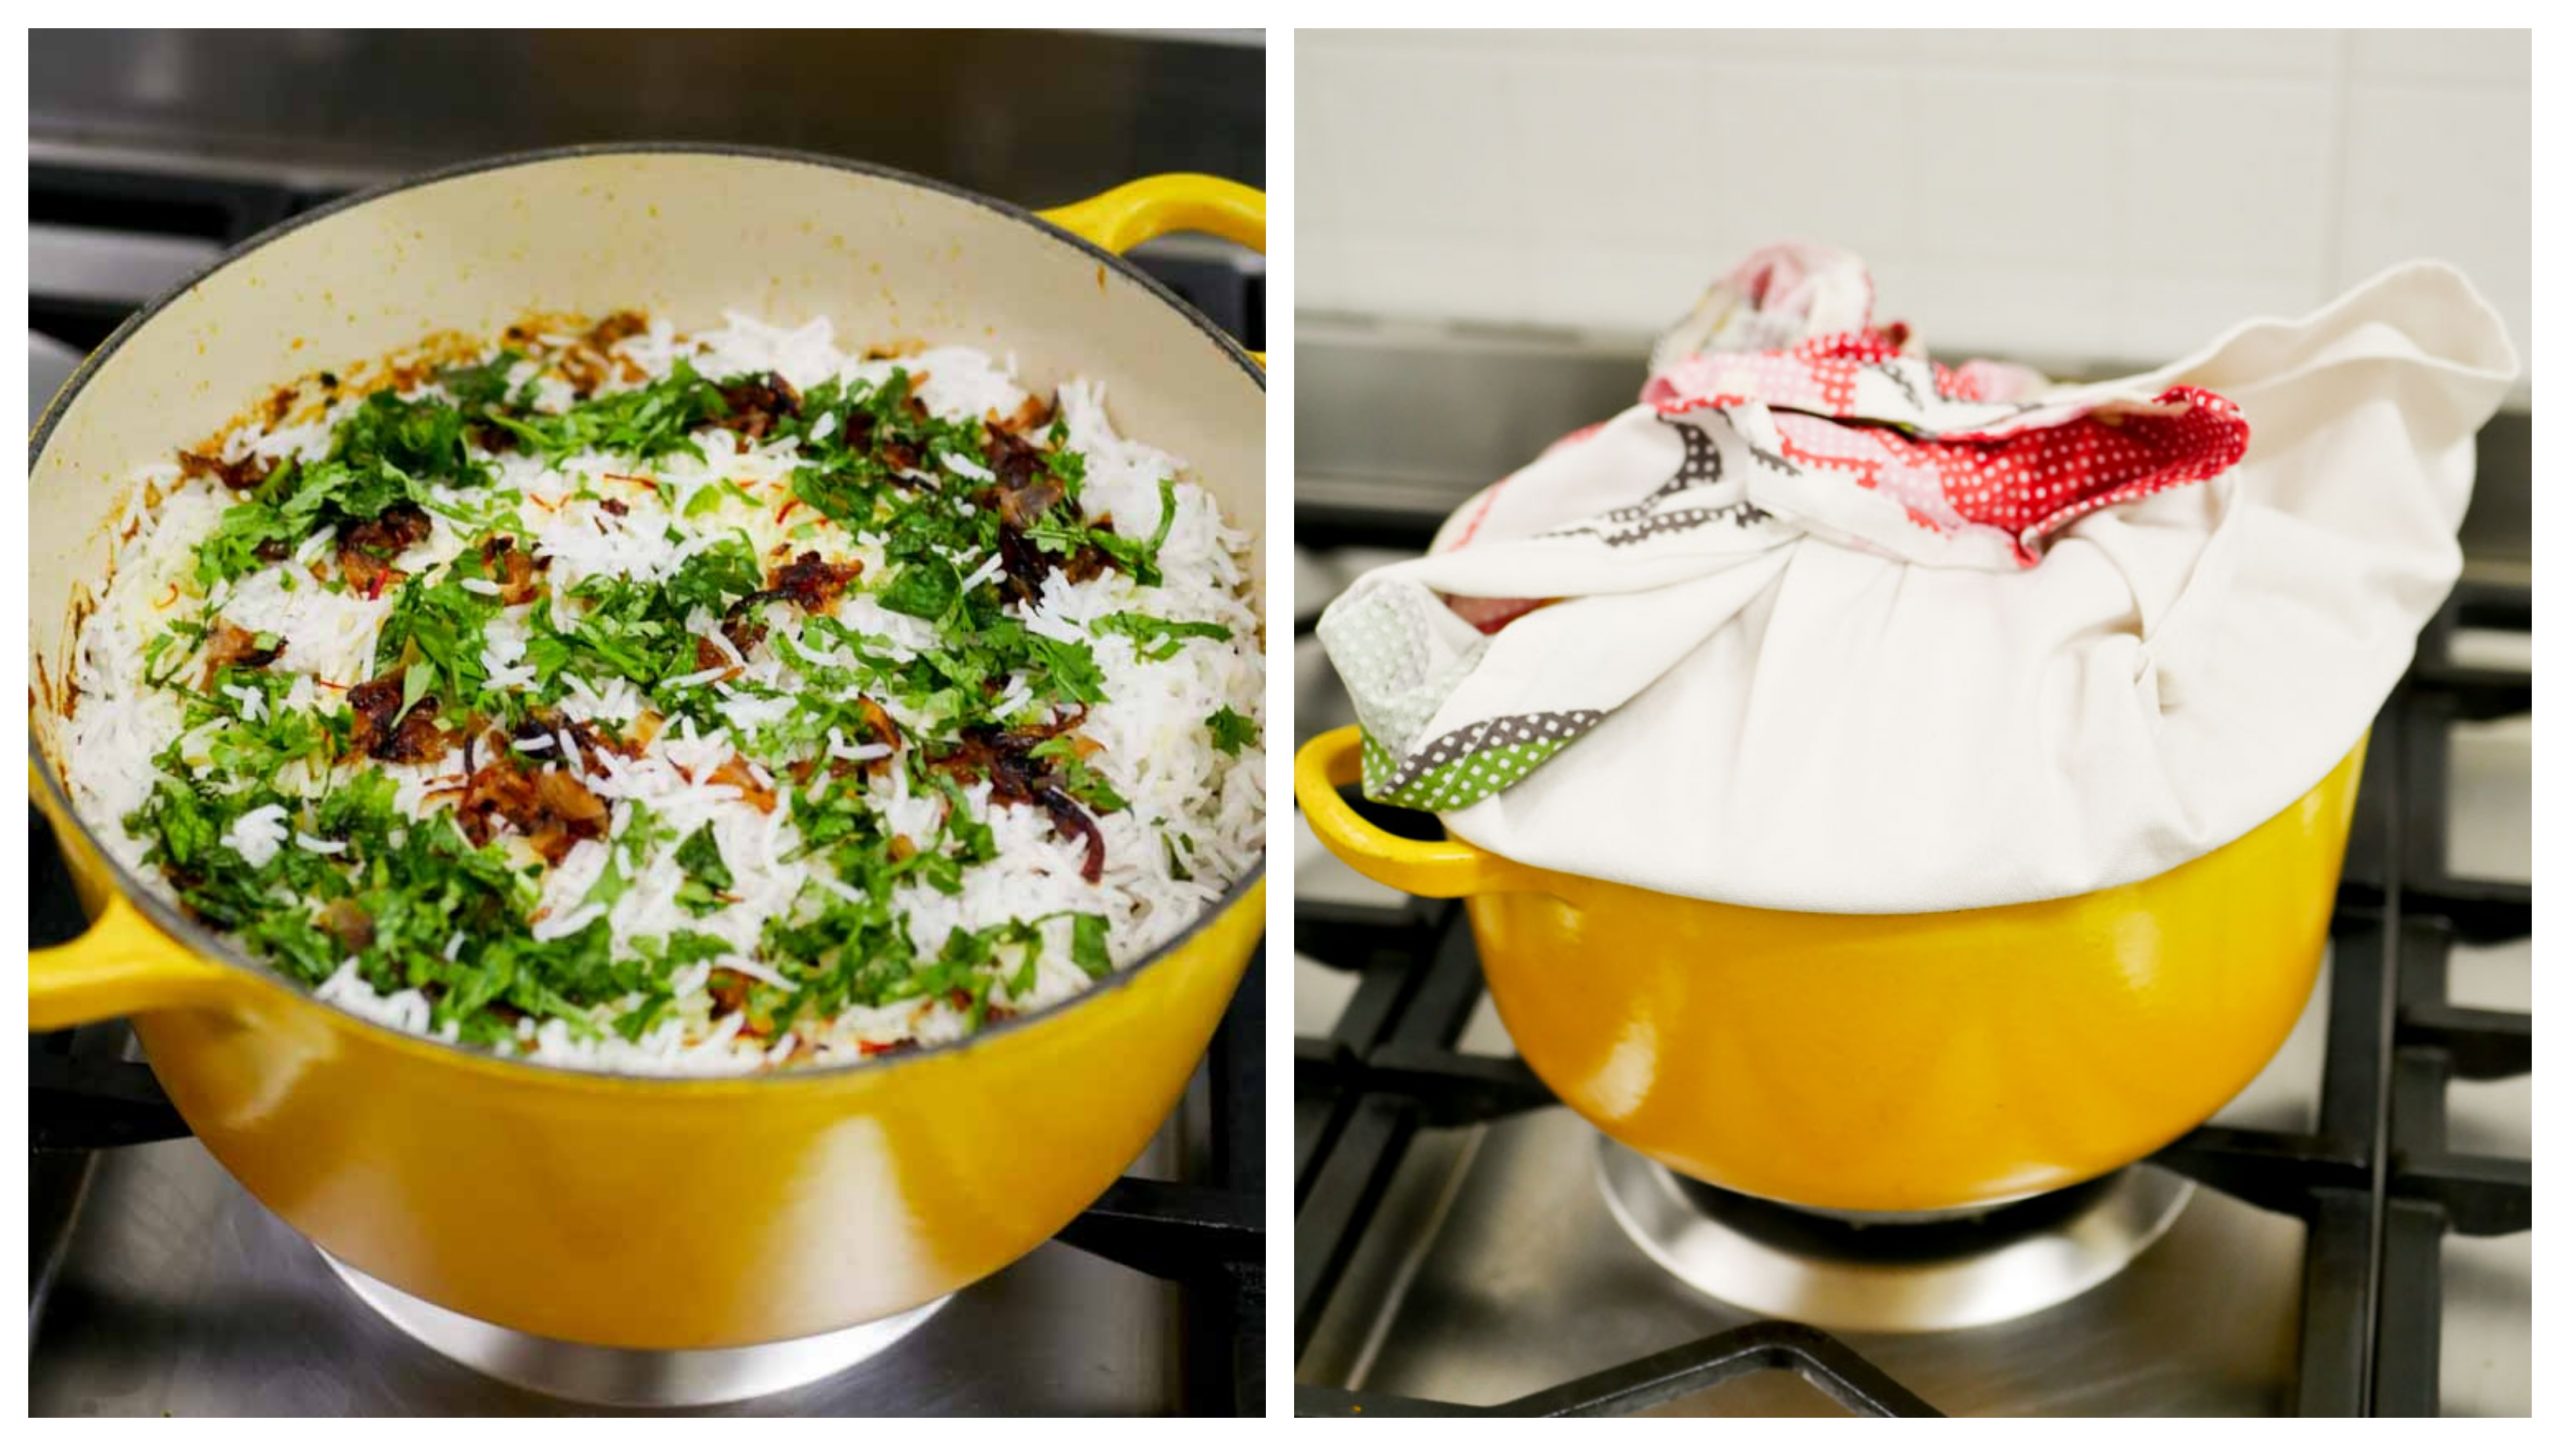
Get all the prepped food ready. We will layer the Hyderabadi style chicken dum biryani. We will be doing a two parts layered biryani. So we will split all the prepped food in half and start layering. Remove half of the chicken masala gravy from the pan. To the other remaining half, add in half of the rice. Top the rice with half of the fried onions, mint leaves, coriander leaves and saffrom milk. Repeat the same to get one more layer. Cover the pan with a kitchen towel covered lid (the towel will absorb all the steam and also give a tight fit to the lid ). Place the pan back on the stove and heat it on a low flame for 15 minutes. Low flame is key. Otherwise, the biryani will scorch at the bottom. So a word of caution on that.
Oven Method – Place the biryani bowl in a preheated 200C oven for 15 minutes. Remove from the oven. Let it rest for another 10 minutes before you serve.
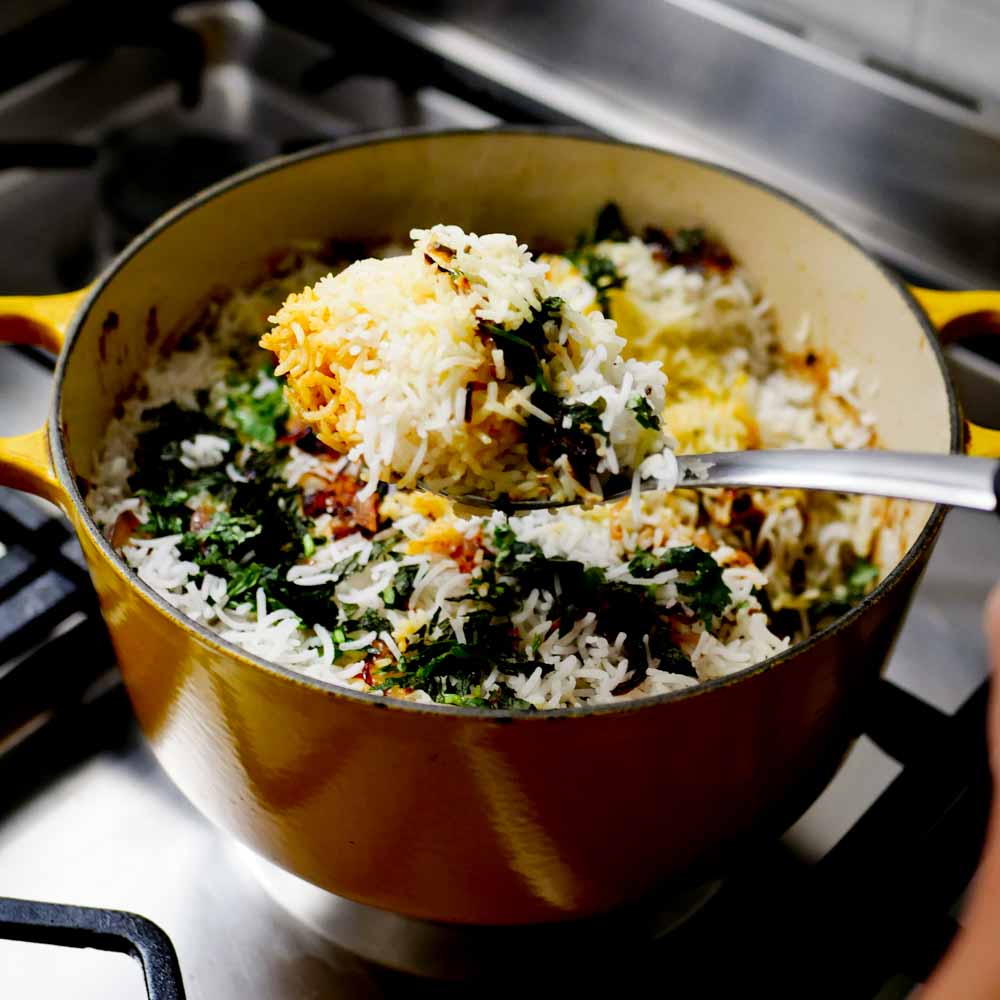
Let it cook for 15 minutes. Tasty Hyderabadi style chicken dum biryani is ready. Serve hot and count your blessings.
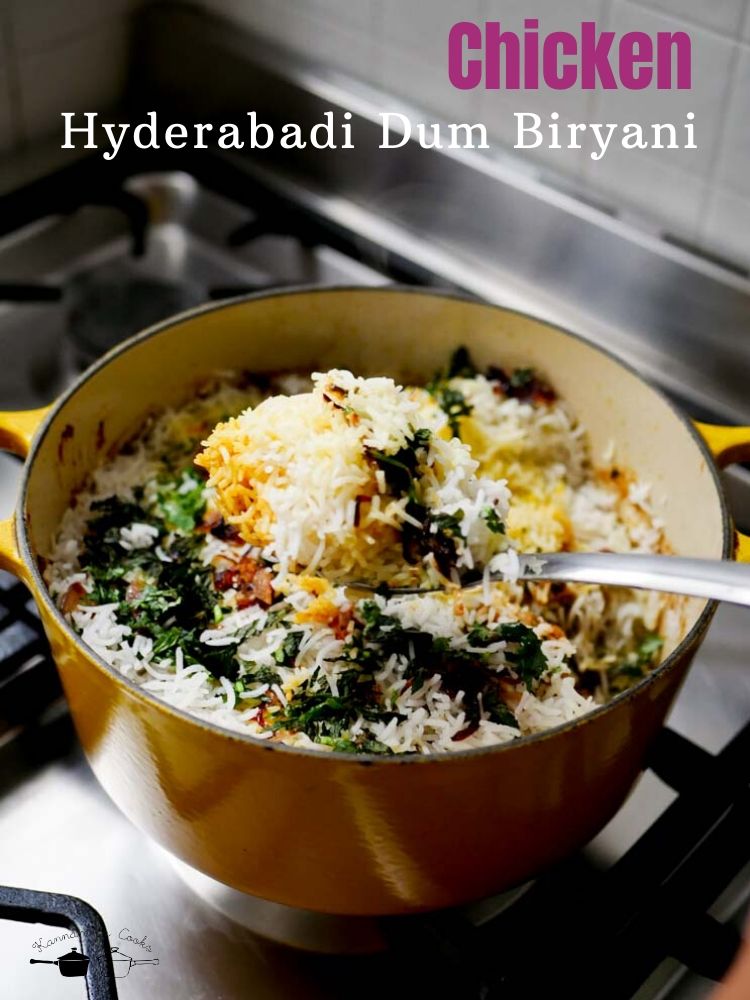
Hyderabadi Chicken Dum Biryani Recipe
Hyderabadi Chicken Dum Biryani Recipe made from scratch. Home style Hyderabadi Chicken Dum Biryani Recipe with step by step pictures / images and video made with homemade biryani masala.
- Total Time: 90m
- Yield: 3-4 servings
Ingredients
Deep fried onions – Birista
- 1/4 cup ghee
- 500 grams onions, sliced thin
Marinating the chicken for Hyderabadi Chicken Dum Biryani
- 1/4 cup plain yogurt / curd
- half of the fried onions from above
- 2 teaspoon ginger garlic paste
- 1 teaspoon salt
- 1.5 teaspoon coriander powder
- 1 tablespoon biryani masala powder
- 1/4 cup coriander leaves
- 1/4 cup mint leaves
- 1 teaspoon red chilli powder
- 3 green chillies, chopped
- 1 lemon (juiced)
- 500 grams bone-in chicken
Cooking Rice for Hyderabadi Chicken Dum Biryani
- 1 star anise
- 2 cardamom
- 2 bay leaves
- 3 cloves
- 1 inch cinnamon
- 2 cups basmati rice (500 ml)
- 1 teaspoon ghee
- 1.5 teaspoon salt
Cooking the Chicken Masala for making Hyderabadi style chicken dum biryani
- 2 teaspoon ghee
- Marinated chicken from above
Layering the biryani
- 2 tablepsoon mint leaves
- 2 tablespoon coriander leaves
- a pinch of saffron
- 1/4 cup hot milk
- remaining fried onions from above
Instructions
Deep fried onions – Birista
- Add quarter cup of ghee to a heavy pan and add in the onions. Now, fried onions take anywhere between 20-25 minutes to get that deep brown colour. This is the first thing I start in the kitchen when making biryani so I can get all the other prep work done when the onions are cooking and doing its magic. Keep sauteing. The onions would slowly start to brown and change colour to a deep cocoa. Keep sauteing every couple of minutes as the onions in the corner of the pan tend to brown faster. So keep moving and mixing things. Once the onions are nice and brown, remove the onions and set aside. We will use half of the onions for marinating the chicken and half of it while layering the Hyderabadi style chicken dum biryani.
Marinating the chicken for Hyderabadi Chicken Dum Biryani
- Take a big bowl and add in all the ingredients listed under marination for Hyderabadi style chicken dum biryani. Marinate for at-least 3 hours or over nite in the refrigerator.
Cooking Rice for Hyderabadi Chicken Dum Biryani
- Wash and soak the rice in water before starting to cook for at-least 30 minutes. Soaking the rice helps the rice from becoming mushy while cooked. Bring a big pot of water to a boil. Once the water comes to a boil, add in the spices, salt and the ghee. Add in the soaked and drained rice. Let the rice cook in the boiling water. It will take roughly about 10-15 minutes to cook the rice depending on the age of the rice. So keep checking. Aged rice takes more time to cook.
- Bring a big pot of water to a boil. Once the water comes to a boil, add in the spices, salt and the ghee. Add in the soaked and drained rice. Let the rice cook in the boiling water. It will take roughly about 10-15 minutes to cook the rice depending on the age of the rice. So keep checking. Aged rice takes more time to cook.
- The rice should be cooked about 80-90 percent. When you eat a grain of rice, it should be cooked but still firm. It should be a little al-dente when you chew. At this stage, drain the rice. Before draining the rice, remove the spices. You do not want anyone chewing on cardamom or clove when they take a bite of their Hyderabadi style chicken dum biryani. It will ruin the palate. So I always remove the spices if possible and in a recipe like this, its easy to remove it too. Drain the rice on a colander and set aside.
Cooking the Chicken Masala for making Hyderabadi style chicken dum biryani
- Heat ghee in a heavy pan. Heavy pan is necessary as we will put the Hyderabadi style chicken dum biryani for “dum” later in the same pan. Add in the marinated chicken to the pan. Keep the flame on medium and cover the pan with a lid. Cook for 15 minutes. Saute once or twice in between to avoid the chicken from scorching at the bottom. During cooking, if the chicken is very dry, feel free to add half a cup of water. Do not add a lot of water as we need a thick gravy for making Hyderabadi style chicken dum biryani. Once the chicken is cooked, remove from heat and set aside.
Layering the biryani
- Soak the saffron in quarter cup of really hot milk or water. Other things we will need for layering apart from the rice and chicken masala are the fried onions, chopped mint, coriander leaves and the saffron milk.
- Get all the prepped food ready. We will layer the Hyderabadi style chicken dum biryani. We will be doing a two parts layered biryani. So we will split all the prepped food in half and start layering. Remove half of the chicken masala gravy from the pan. To the other remaining half, add in half of the rice. Top the rice with half of the fried onions, mint leaves, coriander leaves and saffrom milk. Repeat the same to get one more layer. Cover the pan with a kitchen towel covered lid (the towel will absorb all the steam and also give a tight fit to the lid ). Place the pan back on the stove and heat it on a low flame for 15 minutes. Low flame is key. Otherwise, the biryani will scorch at the bottom. So a word of caution on that.
Oven Method – Place the biryani bowl in a preheated 200C oven for 15 minutes. Remove from the oven. Let it rest for another 10 minutes before you serve. - Let it cook for 15 minutes. Tasty Hyderabadi style chicken dum biryani is ready.
Notes
If you plan on marinating your chicken over-nite, then do the fried onions / bristha the day before. Store the fried onions in an air tight container at room temperature. Some people add a little salt to their fried onions but I do not. Its a personal thing. Salt the onions if you like.
- Prep Time: 30m
- Cook Time: 60m
Awesome recipe. Lovely pictures. I like the way you explain every detail and your personal experience of the train journey. Kudos to your friendship. Thank you Kannammacooks & Ramya.
Thank for sharing yummy biriyani recipe
Thank you!
you explore this topic in a very effective way I want to appreciate your work, thank you for sharing such useful information!!
Thank you!
Very well explained recipe. It would be great if you can also share the recipe for homemade Biriyani Masala.
Thank you!
that’s a story for another day!
Hope you too follow what if😀
Very well explained recipe. Anybody can make it at home without problem. Thank you mam.
Hi Padarabinda, Thank you. Glad you liked the Hyderabadi style biryani recipe.
Thanks a lot Suguna For sharing this amazing and Mouth watering Hyderabadi Chicken Biryani . Being a Delhite i have Tried it in Delhi in many restaurant but after Reading your Recipe it seems that , Now i can also Cook it home .Will be back with Review that how i cooked it and about taste
Thank you. Hope you like the Hyderabadi chicken biryani.
I tried it and got successful with a mouth watering taste , again really thankful to you .
Thank you Naveen. Really glad you liked the Chicken Biryani.
👌👌👌👌👌👌👌👌👌👌👌👌👌👌
Really awesome presenting
This is first i am seeing some cooking blog ingredients graphic and picture my native also tuticorin at present working in Dubai
Thank you so much. Try the chicken dum biryani sometime.
Very good teaching style very easily learn interest pic thank you so much
Beautifully written.
Thank you. Do try the chicken dum biryani recipe some time.