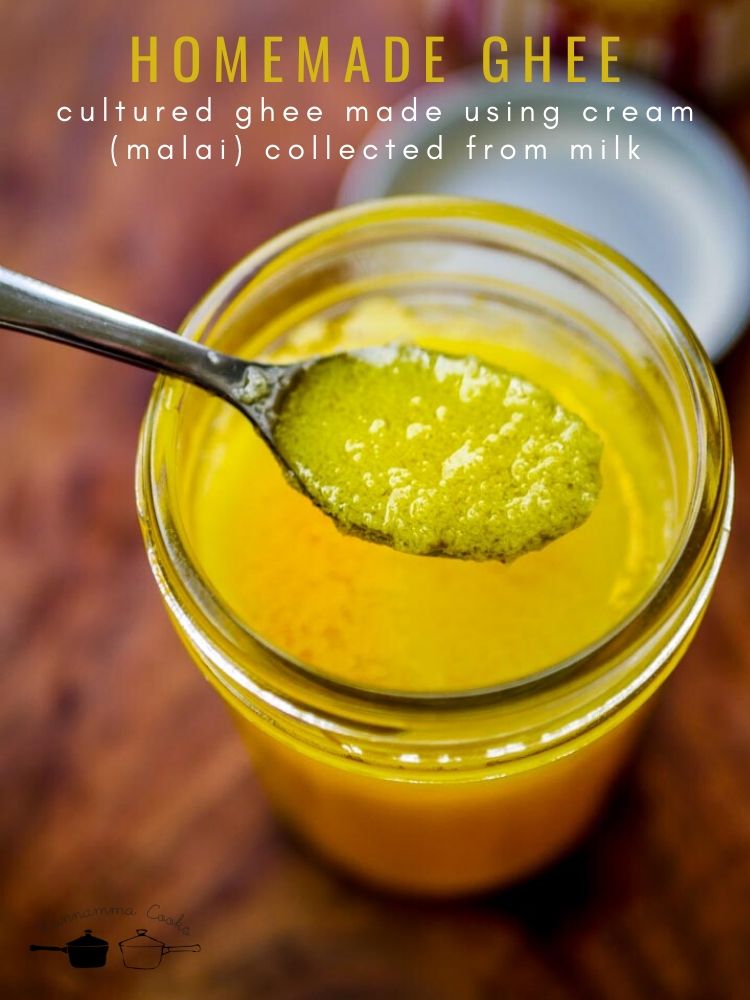
Homemade ghee made by collecting the malai / cream from milk. The cream is then cultured / fermented to make butter and the butter is then made into ghee.
Indian ghee is an emotion for a lot of us. Indian ghee is always made with cultured butter. The fermentation process gives it a very nice aroma and heavenly taste that you cannot get by making it with normal store-bought butter. The milk cream is collected and stored for days. The cream is then cultured. The cultured / fermented cream is then churned to make butter. The butter is then made into ghee. Even though making ghee at home is a lengthy process, I make it all the time as it gives me a sense of accomplishment and nothing can beat the taste of homemade ghee. I have shared my ghee making stories on social media a lot of times before. Since many of you readers have asked for the method of how to make it at home, I am sharing it here.

A note on what kind of milk is better for making butter and ghee at home.
Homogenized milk would not work for making homemade butter as the cream will never separate (Paalaadai as we call in Tamil). Homogenization is a process where the fat globules from the milk is emulsified so the fat/cream does not separate. Most of the packet milk in India these days is homogenized. You wont get the desired results with that milk. For best results, use non-pasteurized and non-homogenized milk. Buffalo milk produces white color butter whereas cow milk produces pale yellow looking butter. But buffalo milk produces a lot of cream (as its fatty) while cow milk does not produce that much cream.
Here is how to collect cream from milk for making homemade ghee
Bring the milk to a rolling boil and let it foam up. Once it foams and starts coming up in the pan, switch off the flame. Once the milk comes to room temperature, keep it in the fridge. The next day morning, a thick film of cream ( Paalaadai as we call in Tamil ) would float on the top.
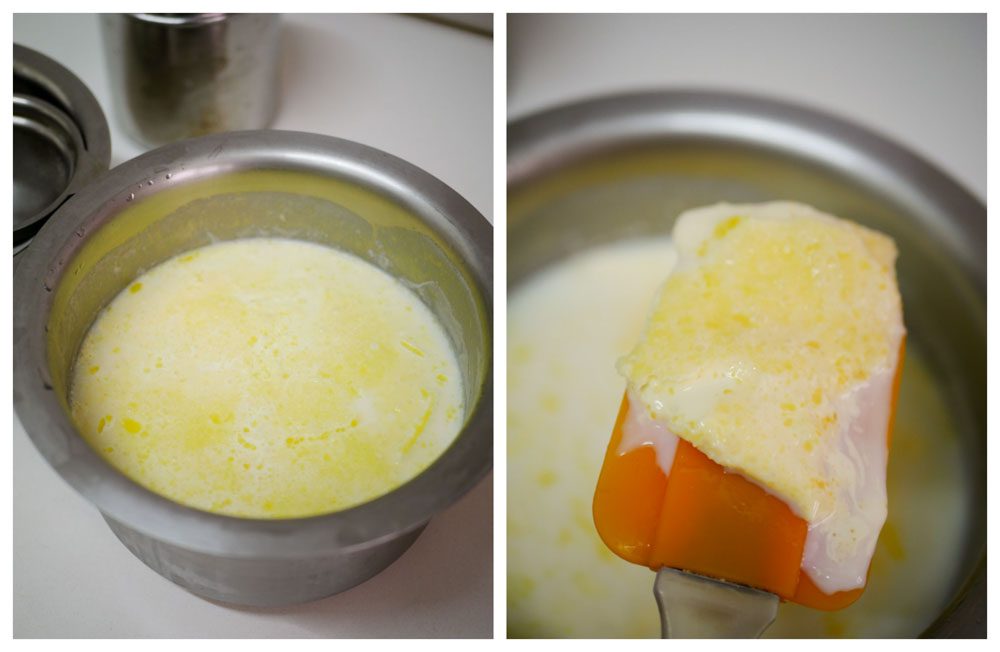
Just strain the milk to get the cream. I use the strained milk for making coffee, tea, making yogurt, etc… Of course the milk will be a little lite as the cream has been taken away.
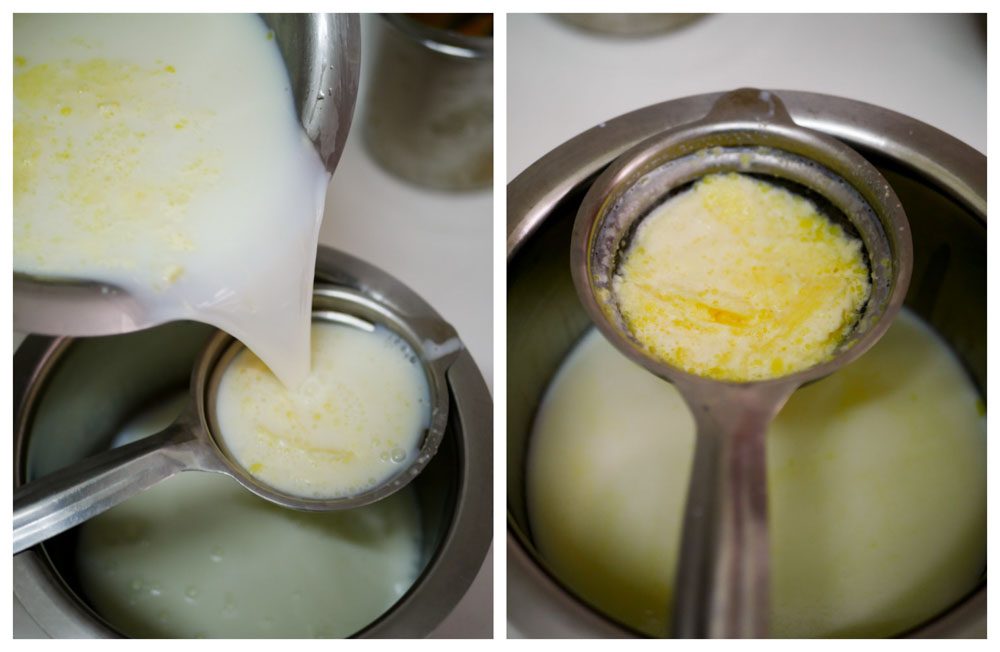
After straining the cream, transfer the cream to a bowl and store in the freezer. We will collect the cream everyday and add it to the bowl. Store the collected cream in the freezer at all times. Once the bowl is full, its time to make ghee. My bowl holds about 500ml of cream. 500ml of cream roughly produces about 300ml of ghee.
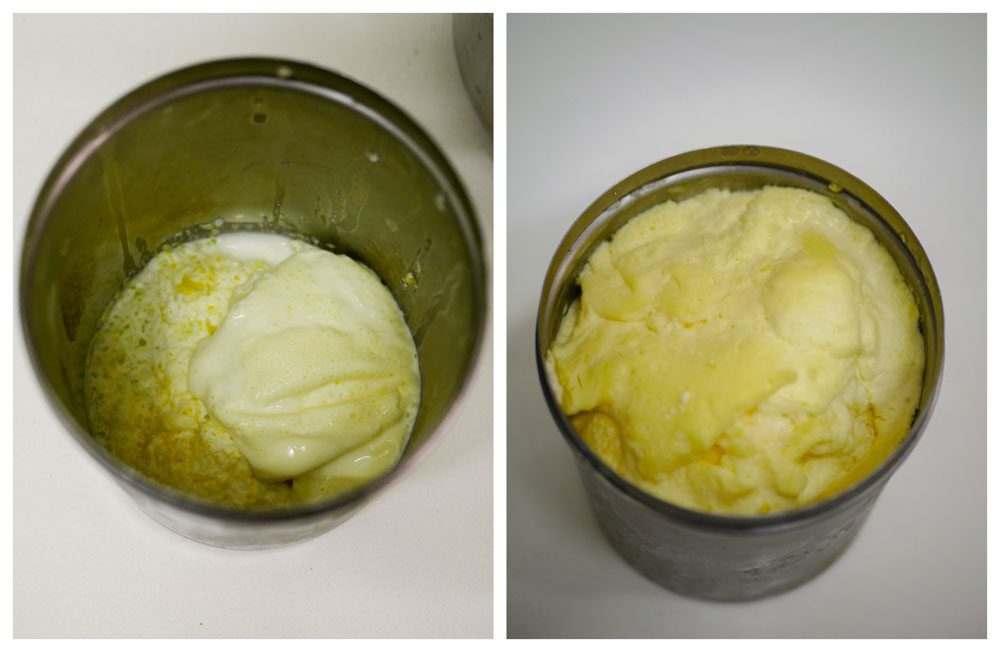
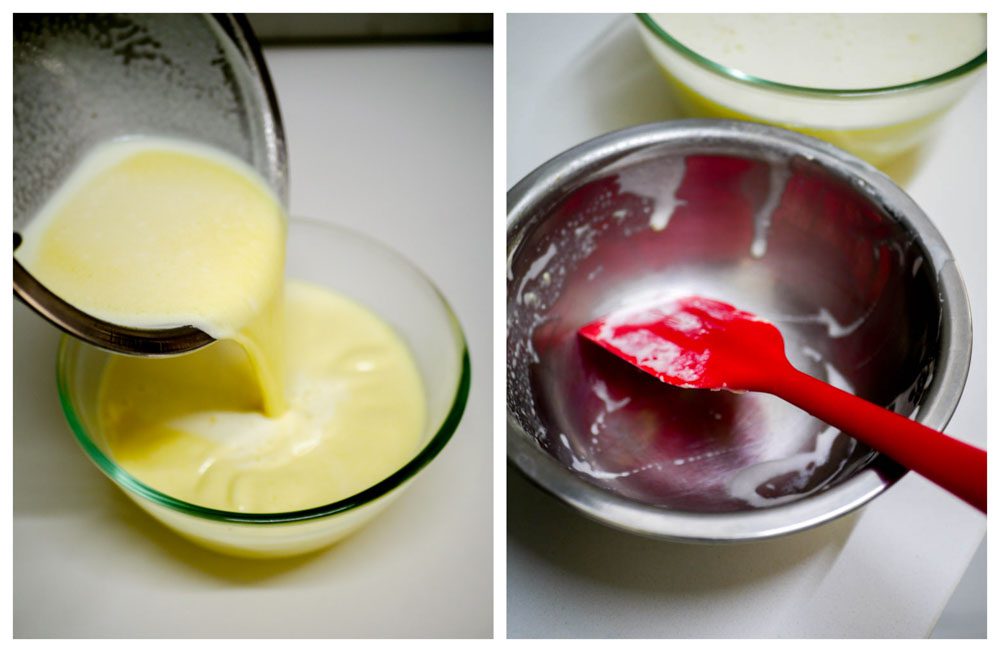
Transfer the bowl from the freezer and thaw the cream in the refrigerator over-nite. Once the cream is completely thawed in the refrigerator, transfer it to a bowl. The cream will still be very cold.
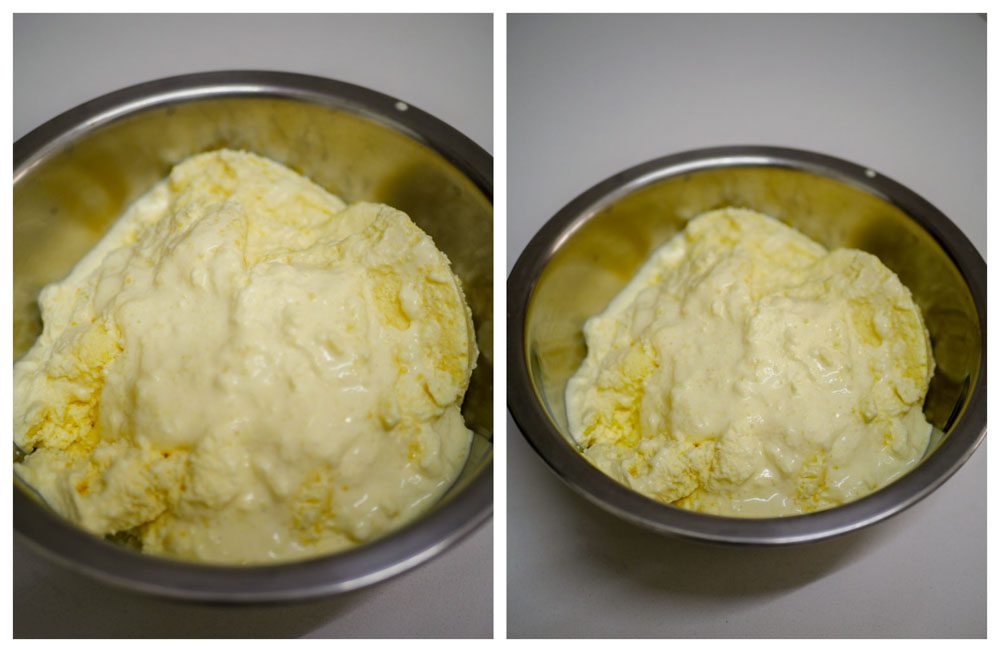
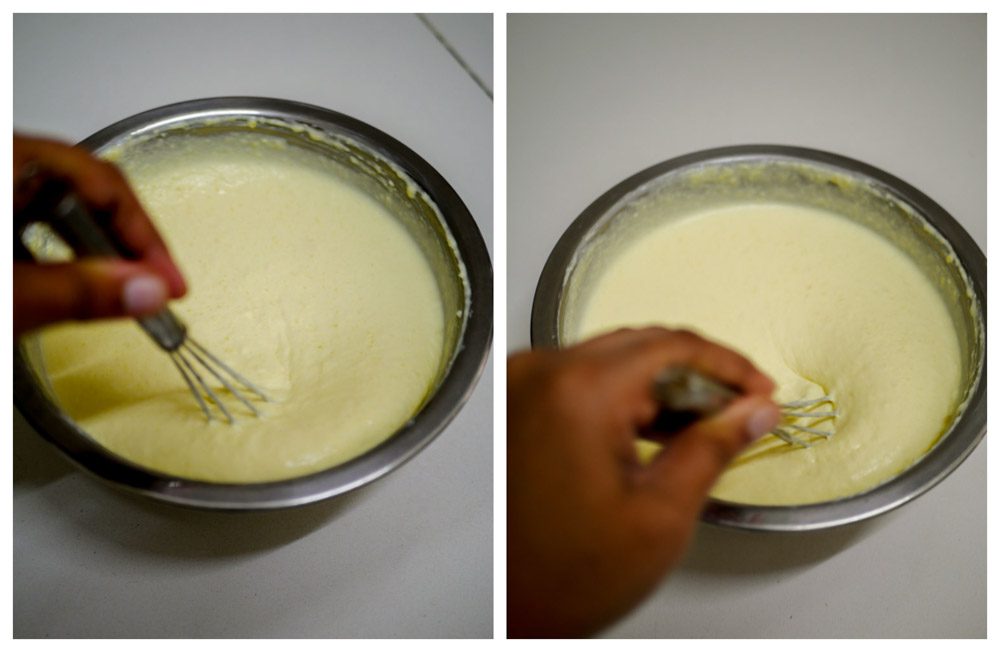
Whisk the cream well so it gets uniformly mixed. Set aside.
Fermenting the cream for homemade ghee
Heat half a cup of water till a rolling boil. Add it to the whisked cream. Beat well. We will be heating the cream on a low flame now. The hot water will give it a head start and will help in avoiding the fat from separating while heating. Some of the fat will still separate and that’s OK.
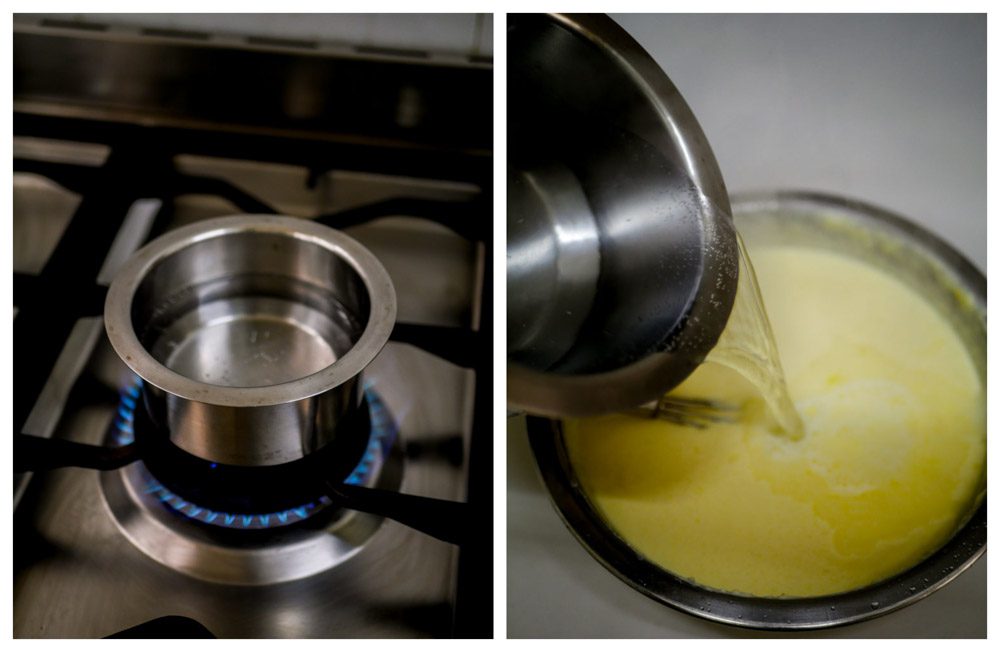
Now heat the bowl with the cream on a very low flame. Keep whisking all the time so it does not scorch at the bottom. Heat for 2-3 minutes till its very slightly hot to the touch. Do not heat for long. A finger inserted in the bowl should feel slightly hot.
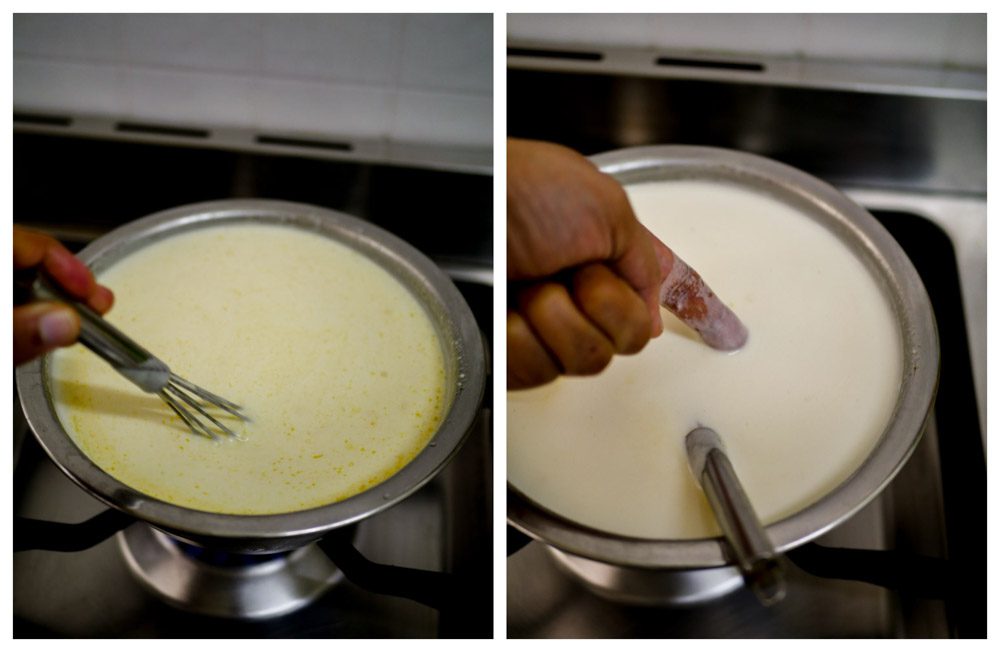
Remove the cream and transfer it to a bowl. Do not waste any cream leftover in the bowl. Use a silicone spatula to get every little drop.
While the cream mixture is still warm, add a tablespoon of plain yogurt / curd (home made or store-bought is fine) and mix well. If you are living in a colder climate, add two tablespoon yogurt. Its important the cream is still warm so the fermentation process will start. If using store-bought yogurt, make sure it has live cultures.
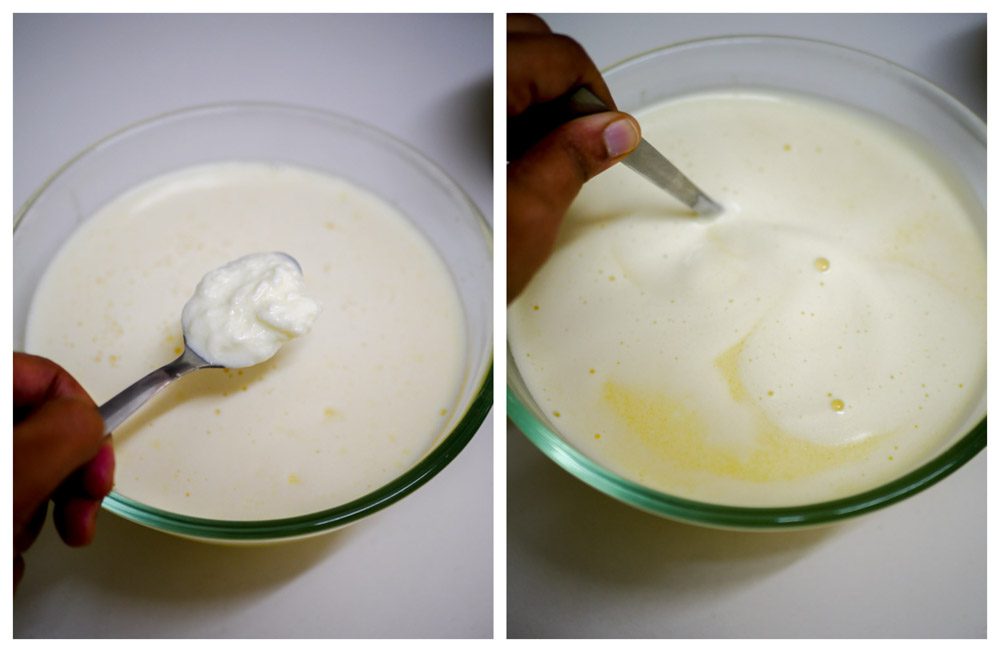
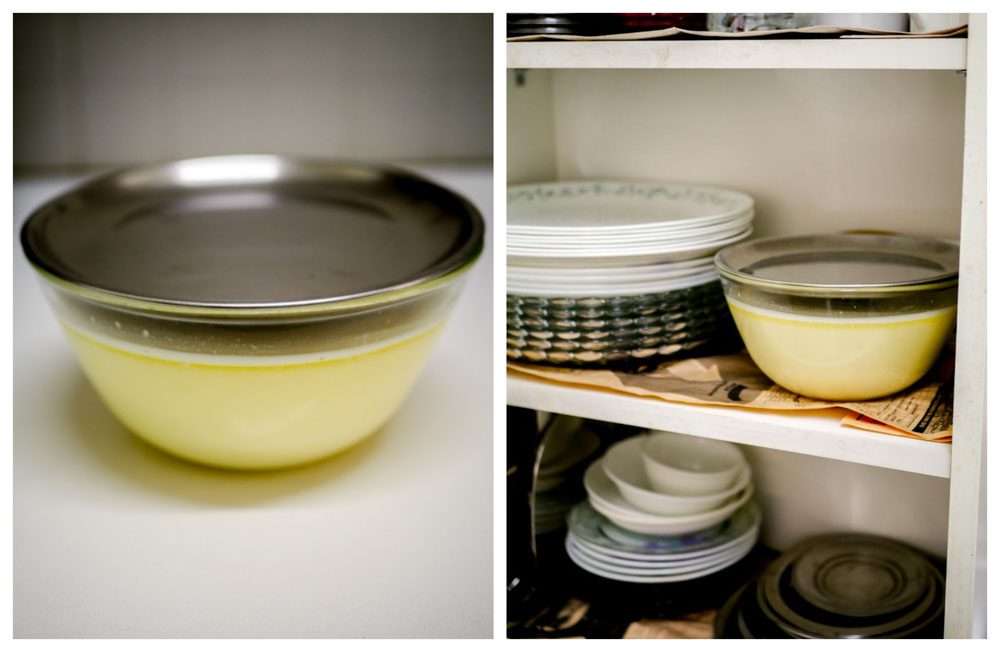
Cover the bowl with a lid and keep it in a warm draft free place. I keep it inside a cupboard. Let the cream ferment for 8-10 hours.
Making Butter for homemade ghee
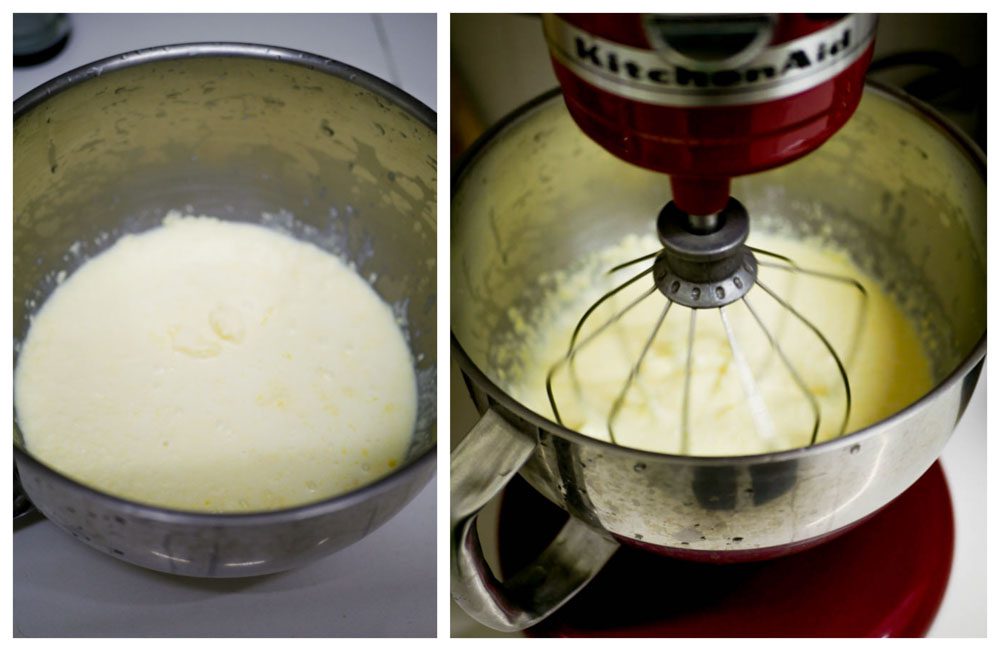
Once the cream is fermented, it would have become thick. Cream churns better and gives good butter when cold. So chill the fermented cream for 8-10 hours or over-nite. The cream would now be very thick and the top layer would have solidified. That’s OK.
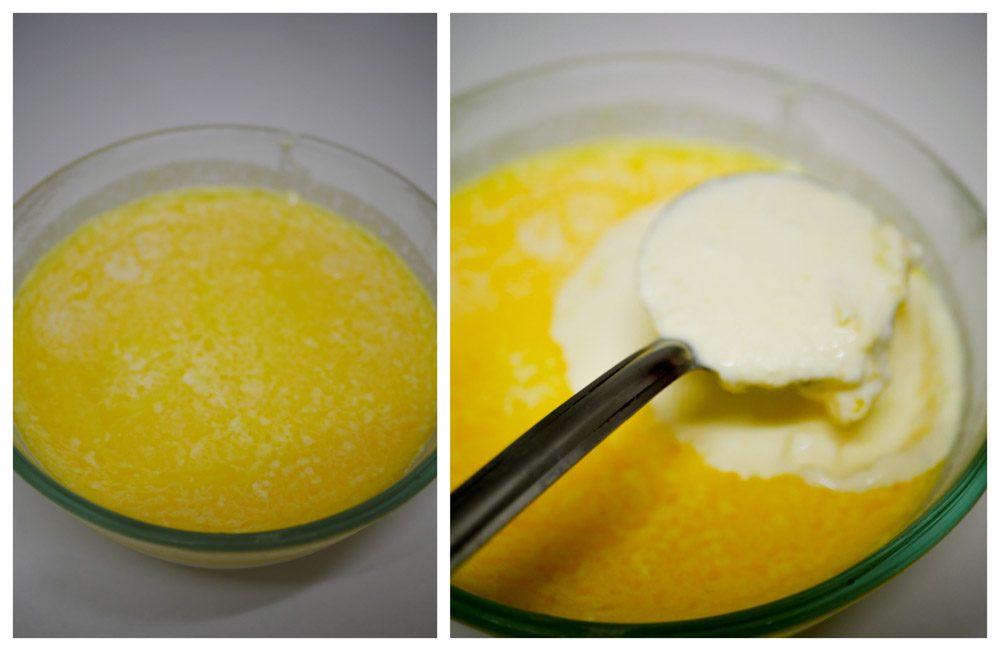
A food processor, hand mixer or a stand mixer does the job of churning the cream into butter well. I do not like to use a mixie as it heats up the cream. My mom still churns the butter by hand using a wooden whisk. Whisk the cold fermented cream on a low speed in a mixer for about 3-4 minutes till the cream curdles and butter starts to form. Its important that the cream is really cold.
The butter and whey would have separated and look like the picture below.
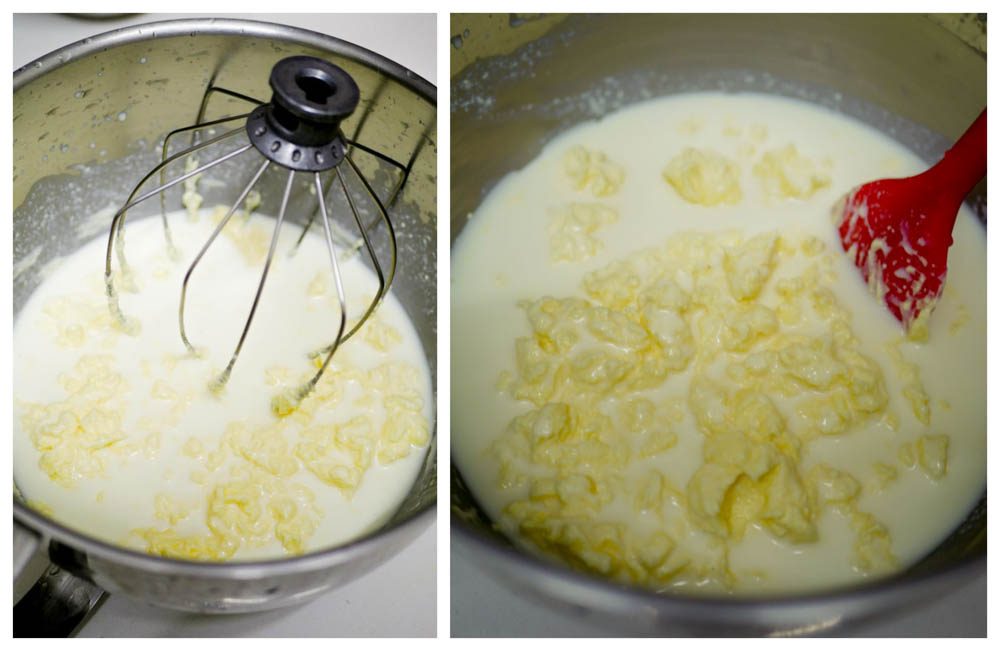
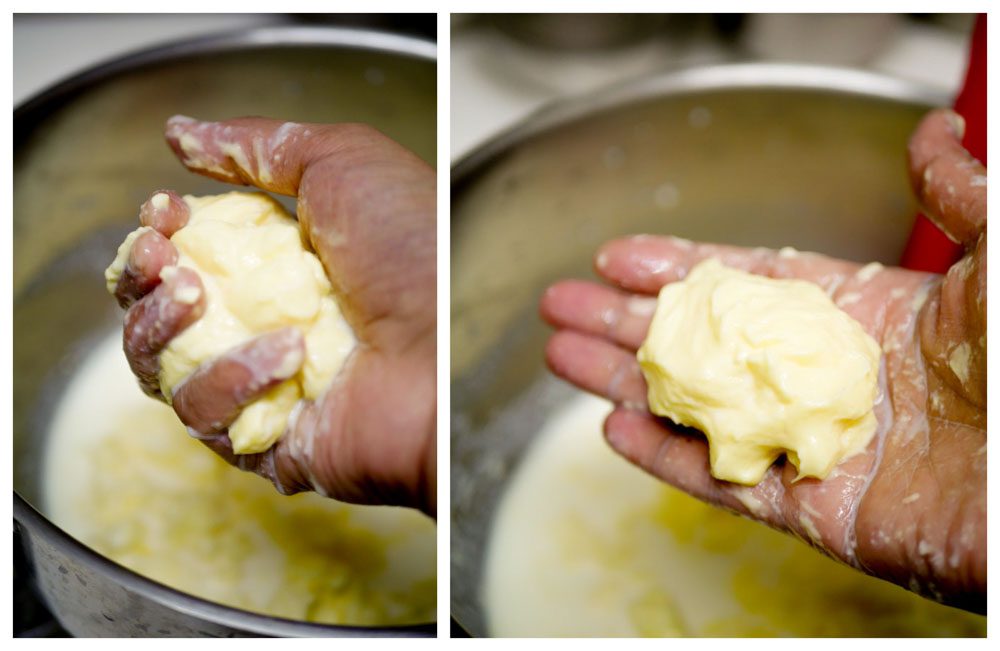
Clean the whisk to get all the butter sticking to it. You do not want to waste even a small drop of this golden goodness. Try taking the curdled cream / butter in your palm gently.
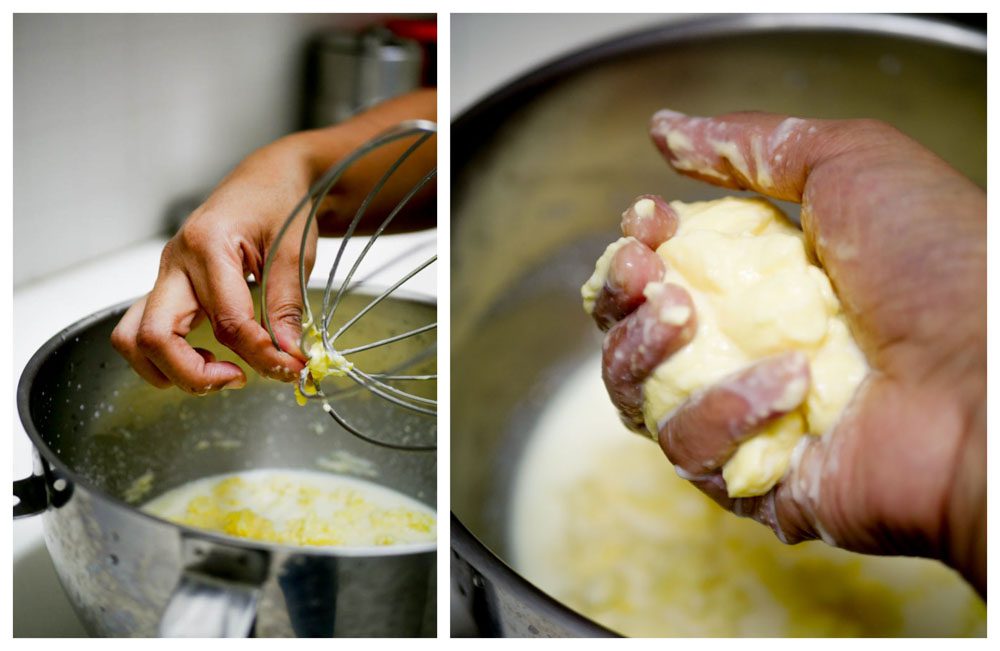
Try shaping the butter into a ball in your hands. This does two things. It gets rid of the excess water and also shapes to form homemade butter. Repeat until all of it has been formed into butter and excess water has been squeezed out. Discard the whey / leftover water after the butter is taken.
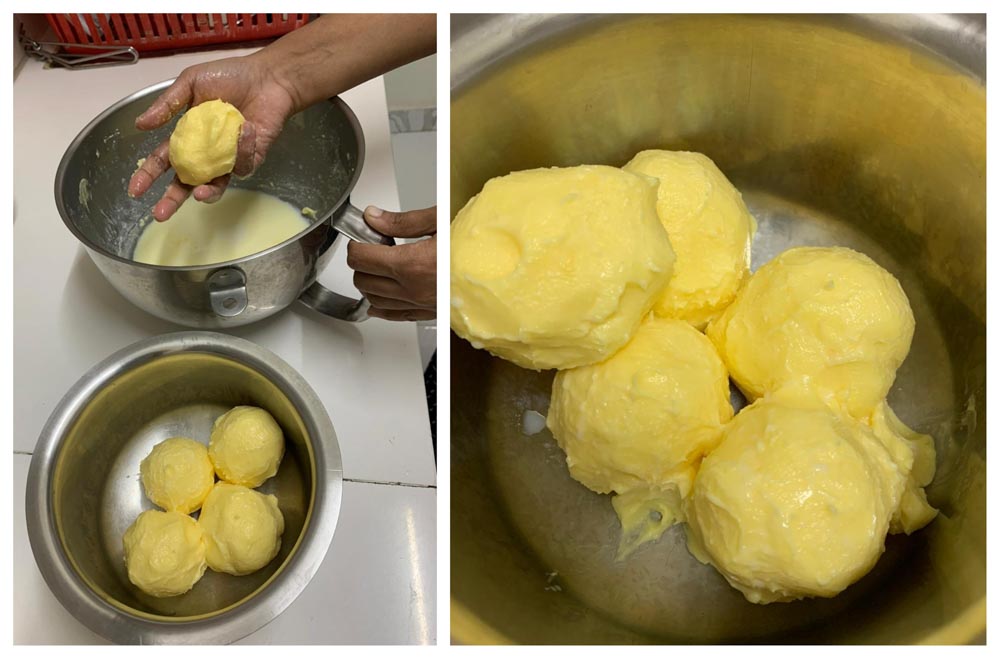
When the weather is cold, you will be able to get nice shaped butter balls. When the weather is very hot, the butter may be very loose like below. Both are perfectly OK.
Now we will make our homemade ghee.
Transfer the homemade butter in a heavy pan. Heavy pan is important so it does not scorch at the bottom. Heat the butter on a medium flame.
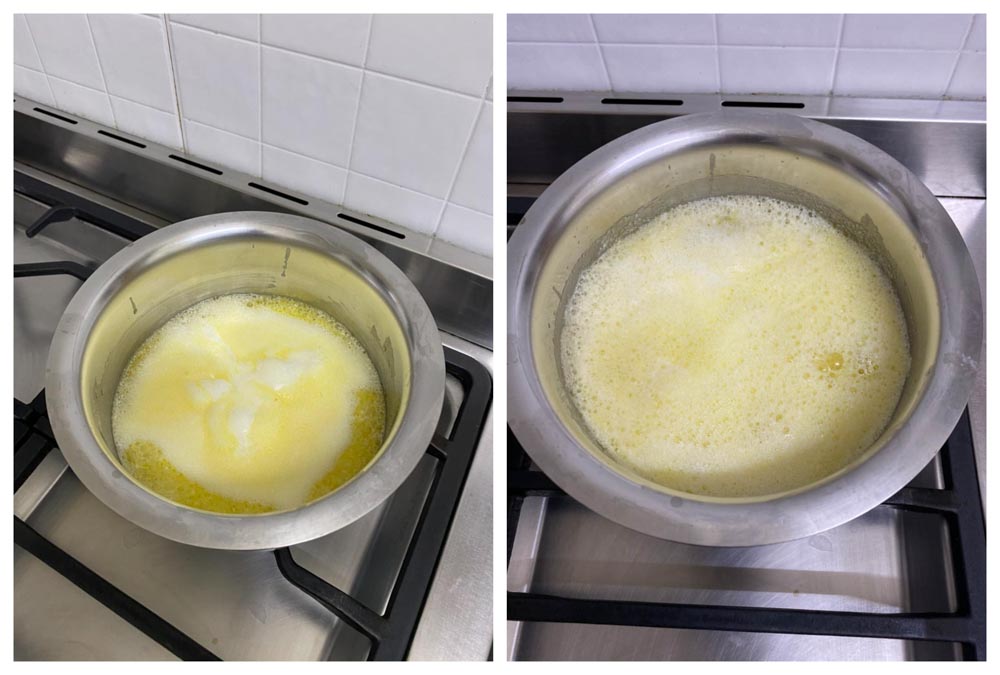
After a while the fat will start to foam up. To avoid overflowing from the pan, stir with a spatula or spoon and reduce the flame to low. Once the foam settles up, increase the flame. No need to remove any scum that floats on top. Its just the milk whey that floats on top. After a while, it will settle to the bottom on its own.
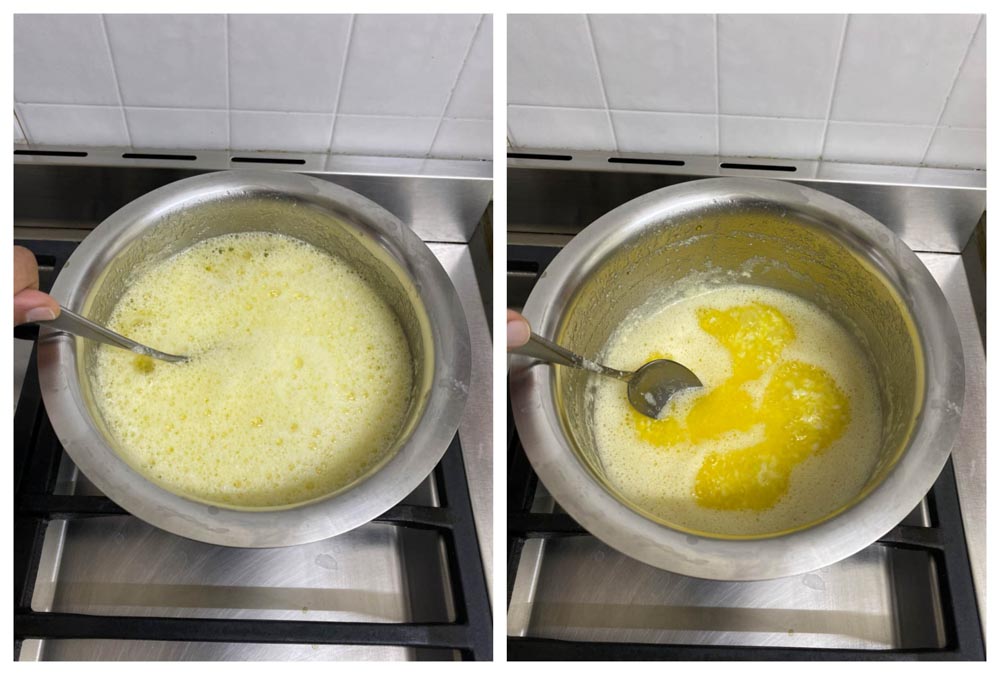
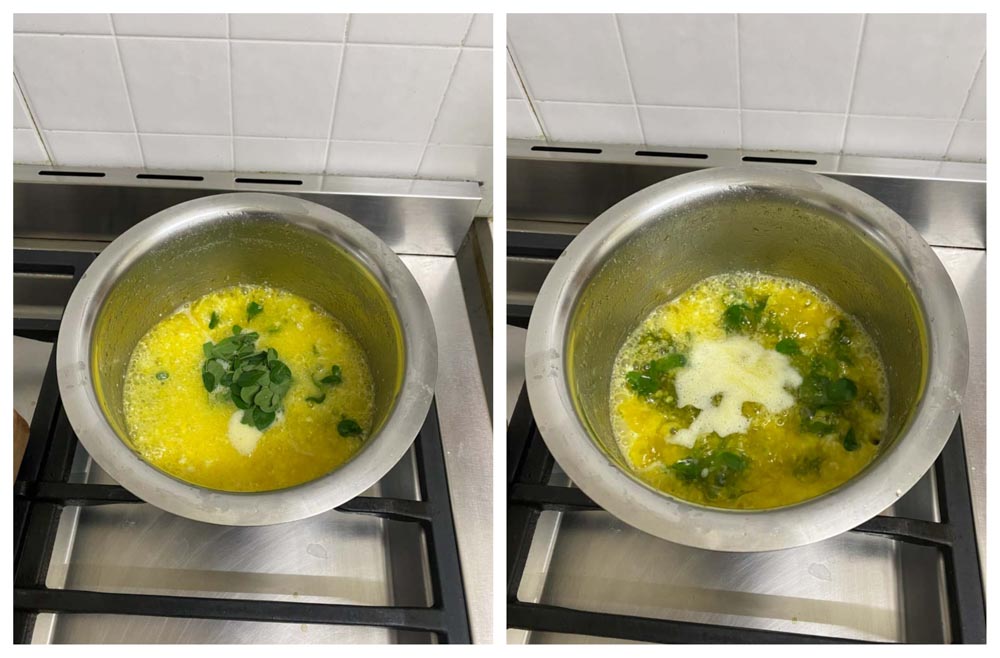
After a while (10-15 minutes depending on the quantity), the milk solids / white foam from the top will slowly start to settle at the bottom. At this stage add a small handful of any of the following leaves. Curry leaves or moringa leaves (murungai ilai). It’s a common practice in South India to add moringa leaves or curry leaves while making ghee. I always thought that it was mainly for the flavour. Ghee is an anhydrous milk fat and in a tropical country like India, lots of ghee gets spoiled due to oxidative rancidity. Betel leaves, moringa leaves and curry leaves possess antioxidant properties and have been used to prevent oxidative rancidity which will not only improve the shelf life and taste of the product but also they are safe to consume unlike synthetic antioxidants which have carcinogenic effects. Further adding these leaves imparts a refreshing aroma and flavor.
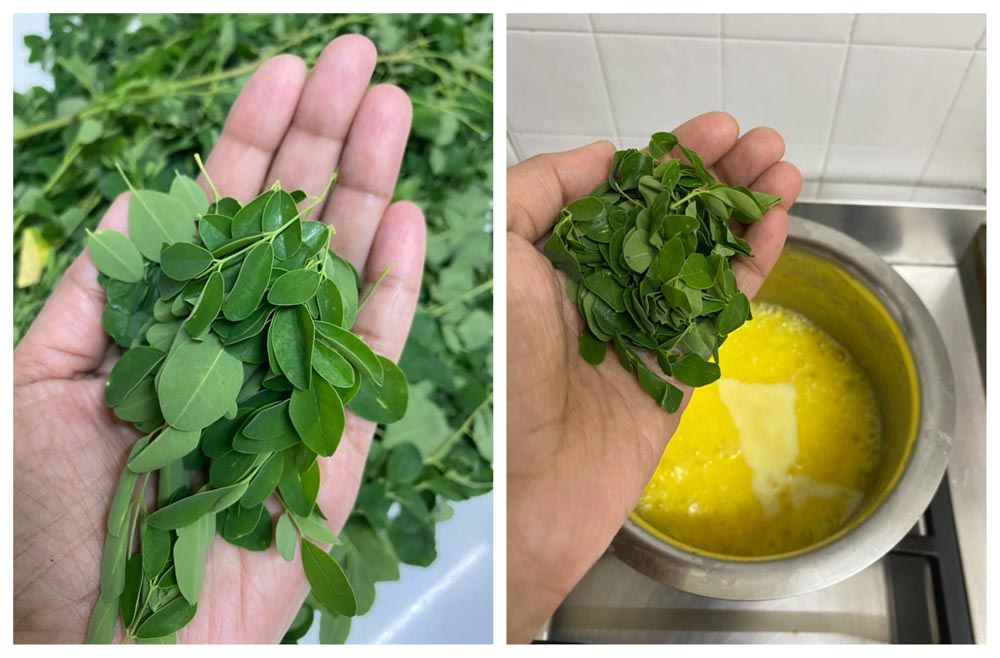
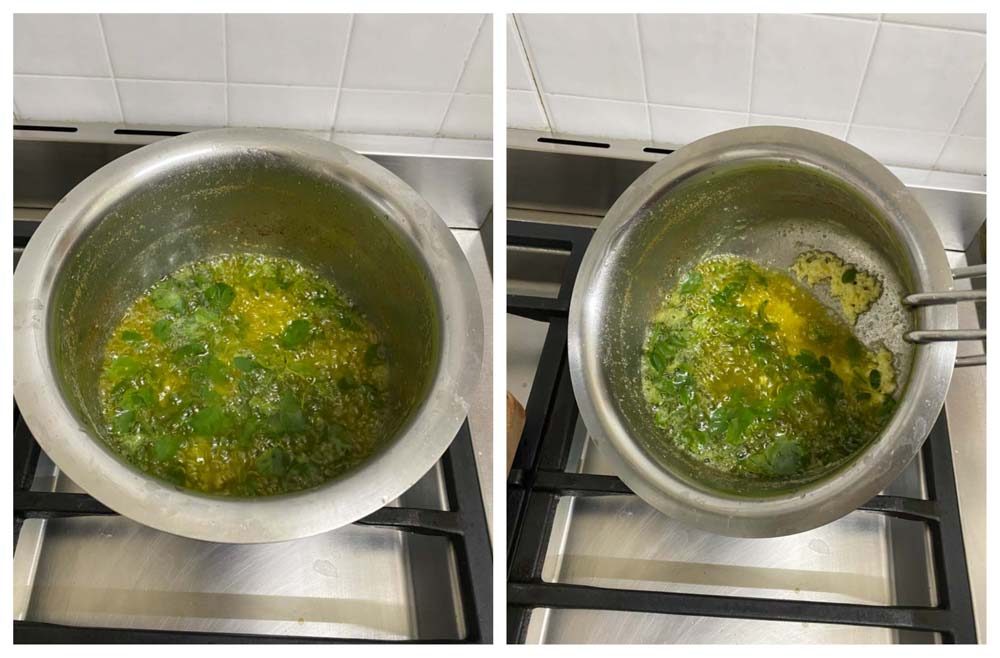
After adding the leaves, let it be on a simmer.
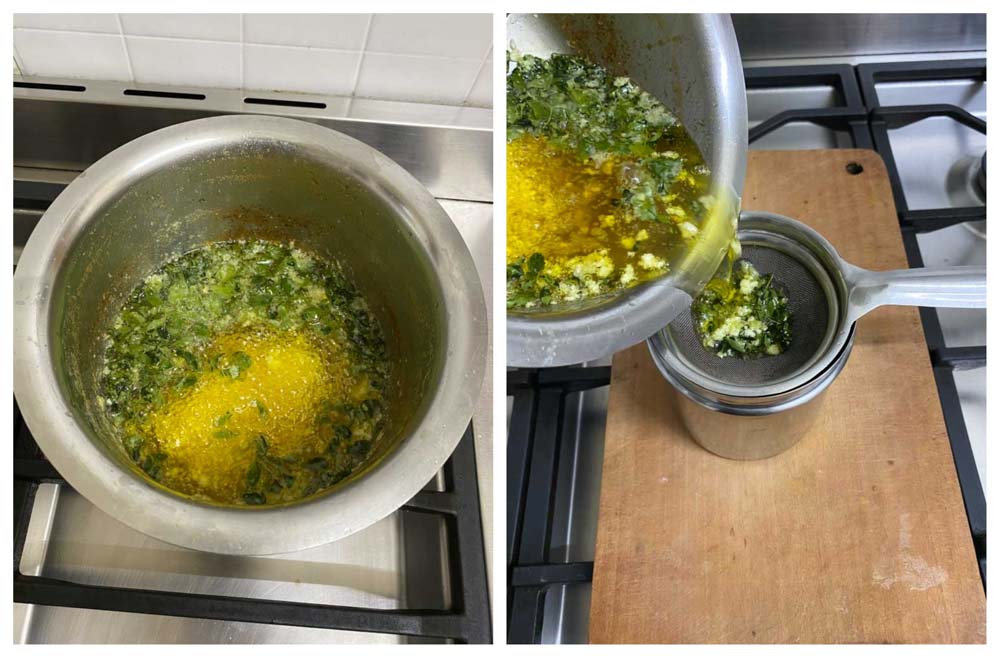
The milk solids would settle at the bottom and stick like the picture below. Once the liquid starts clearing up and look golden in color, its time to strain. If you keep cooking, it will turn to an amber color and then brown. We do not want that.
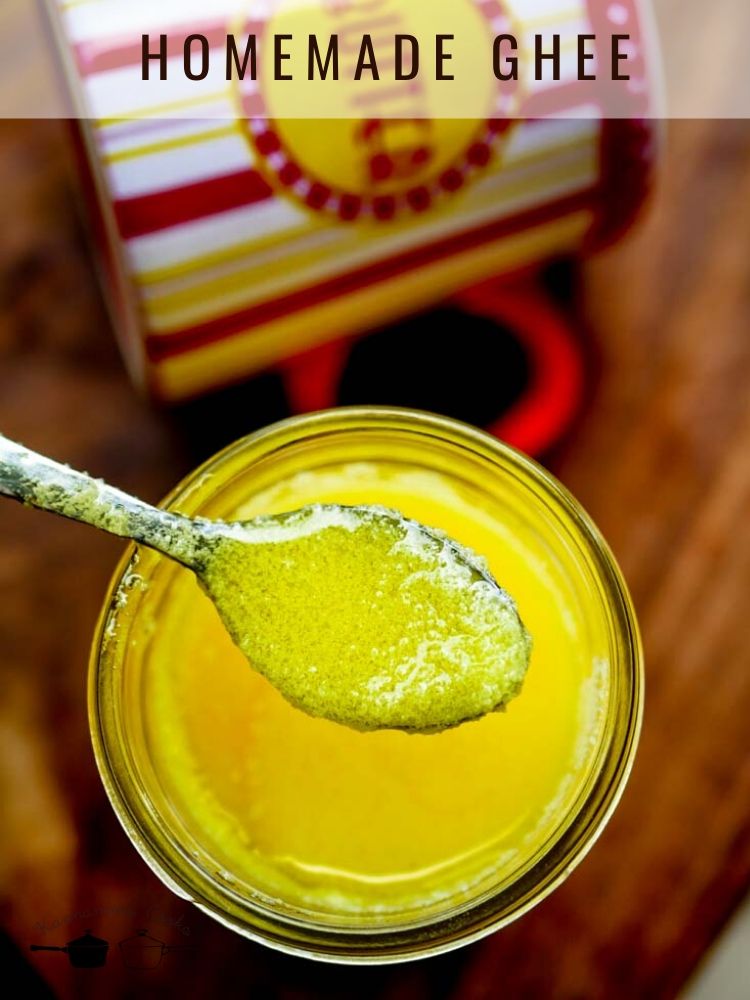
After straining, allow the ghee to completely come to room temperature. Homemade ghee is ready. Store the ghee at room temperature and use within a month. The ghee will naturally solidify in colder climates. Just heat up for a few seconds to make it liquid again. The leaves that you strained, do not throw it away. Mix it with a cup of rice and a little salt and serve. You can even roll it in a chapati and have it as a snack. It tastes so heavenly.
That’s some golden goodness.
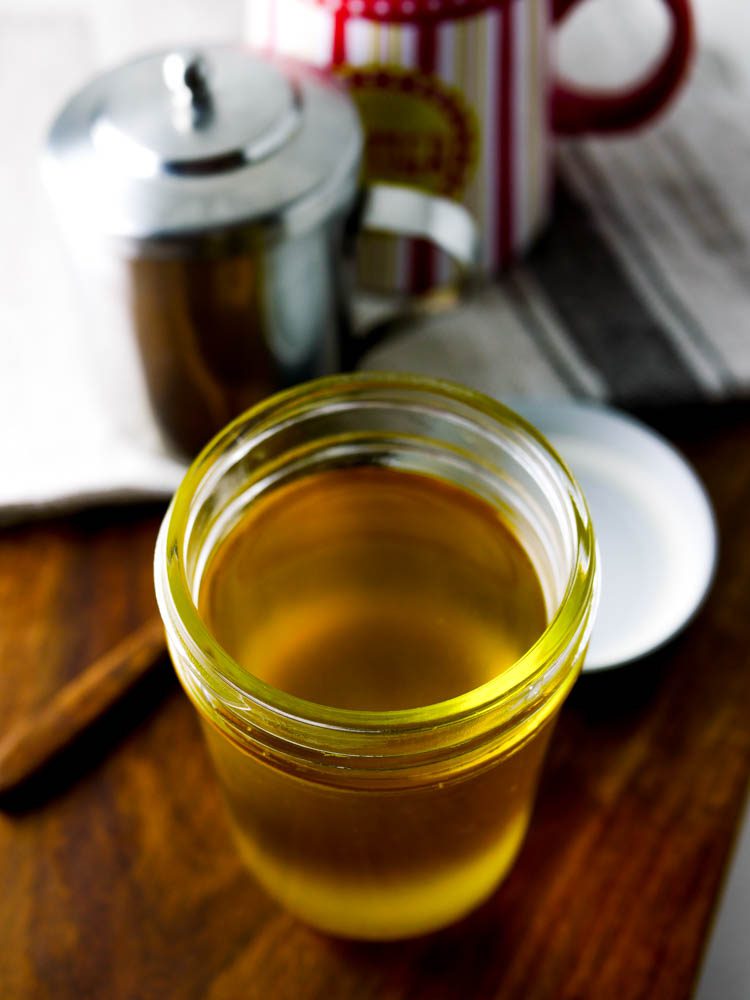
Enjoy the homemade ghee!
I really like how you explained the butter making process, very simple and easy for someone doing it for the first time to follow.
I also have one suggestion. One need not throw or discard the whey water or butter milk. It has excellent probiotic properties. It can be had either directly with a little jeera and salt. I prefer it plain. Or it can be cooked along with 1-2 tbsp of besan and some spices to make a wonderful kadhi.
Making ghee the way you explained and then kadhi the next day is regular feature in our house.
Why the hot water added in cream and then cream heated. I tried without this and it worked. If there is any specific reason for heating, please let us know
Thank you so much such a wonderful explanation and beautiful pictures as usual 🙂
Oh lovely post . I so much love those yellow balls .
Which grinder do you use for grinding idli batter? I want to buy one but I don’t know which one is good . There are so many in market. And what should be the capacity of grinder?
Please check https://www.kannammacooks.com/tips-tricks-making-idli-batter/
Wowww:) awesome explanation nd lovely pics for making ghee at home
Thank you!
Wow 👏 periya process, but worth 👌
yup!!